Crypto Merch Listing Guide
This guide will tell you how to list goods and services on Crypto Merch While there are several steps in the process, we hope this step-by-step guide will make it easy for you to create your first listing in 10 minutes or less.
Please contact the Origin team if you have any questions and one of us will walk you through this process. You can email me at austin@originprotocol.com.
Get an Ethereum Wallet
To transact on Crypto Merch or any Ethereum DApps in general, you will need to have an Ethereum wallet and wallet-enabled browser.
Desktop
On desktop, we recommend using a browser extension called Metamask. This extension works with Chrome, Firefox, Opera, and Brave browser. MetaMask acts as an Ethereum wallet that allows you to interface with web applications. Every Ethereum wallet has something called a seed phrase (or private keys). This seed phrase is extremely important to backup and you can use it to recover or move your funds even if you lose the password to MetaMask. If you lose the seed phrase and get locked out of MetaMask, you lose your funds.
Check out this short video guide that explains how to install and set up MetaMask.
If you don’t have any ETH (short for ether, or Ethereum coins) and don’t want to buy any for yourself, we will send you a tiny amount to create your listings. Contact Origin with your MetaMask wallet address (also called a public key), provide details about your listing, and we will send you some ETH for free.
Mobile
On iOS and Android, there are many popular mobile wallets like our very own Origin Wallet (iOS), Coinbase Wallet (iOS, Android), and TrustWallet (iOS, Android).
Each of these apps will generate a wallet for you (or allow you to import an existing one). Once you have your wallet set up, you will be able to browse DApps.
Using Ethereum
The rest of this guide walks you through the desktop browser experience, but similar recommendations apply for mobile.
In order to use DApps, you will often need need some ETH to complete actions on the Ethereum network (called paying for gas). Most actions only cost about a penny or less in gas. Sometimes you will need to sign something using your wallet as well, which is a free user interaction and does not cost any gas.
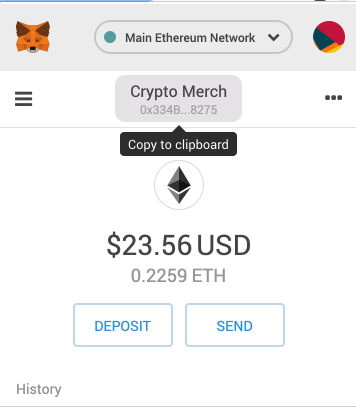
Either way, if you are stuck or need to do something, keep an eye out on the little fox logo in your browser bar and any notifications. Click the button to pop up MetaMask and complete a transaction or sign something.
When you want to sell your ETH for dollars or another currency, we recommend using Coinbase or Blockchain.com. You can send ETH to your account on Coinbase/Blockchain.com and exchange it for dollars that can then be withdrawn to your bank account.
Using the Crypto Merch DApp
After you have MetaMask up and running, navigate to Crypto Merch (https://cryptomerch.io). The first thing you should do is set up a profile so buyers know who you are. This is important to build trust, as buyers will want to know who they are transacting with.
Setting up a Profile
Click the icon in the top right corner and click ‘Edit Profile’ or go directly to the profile page.
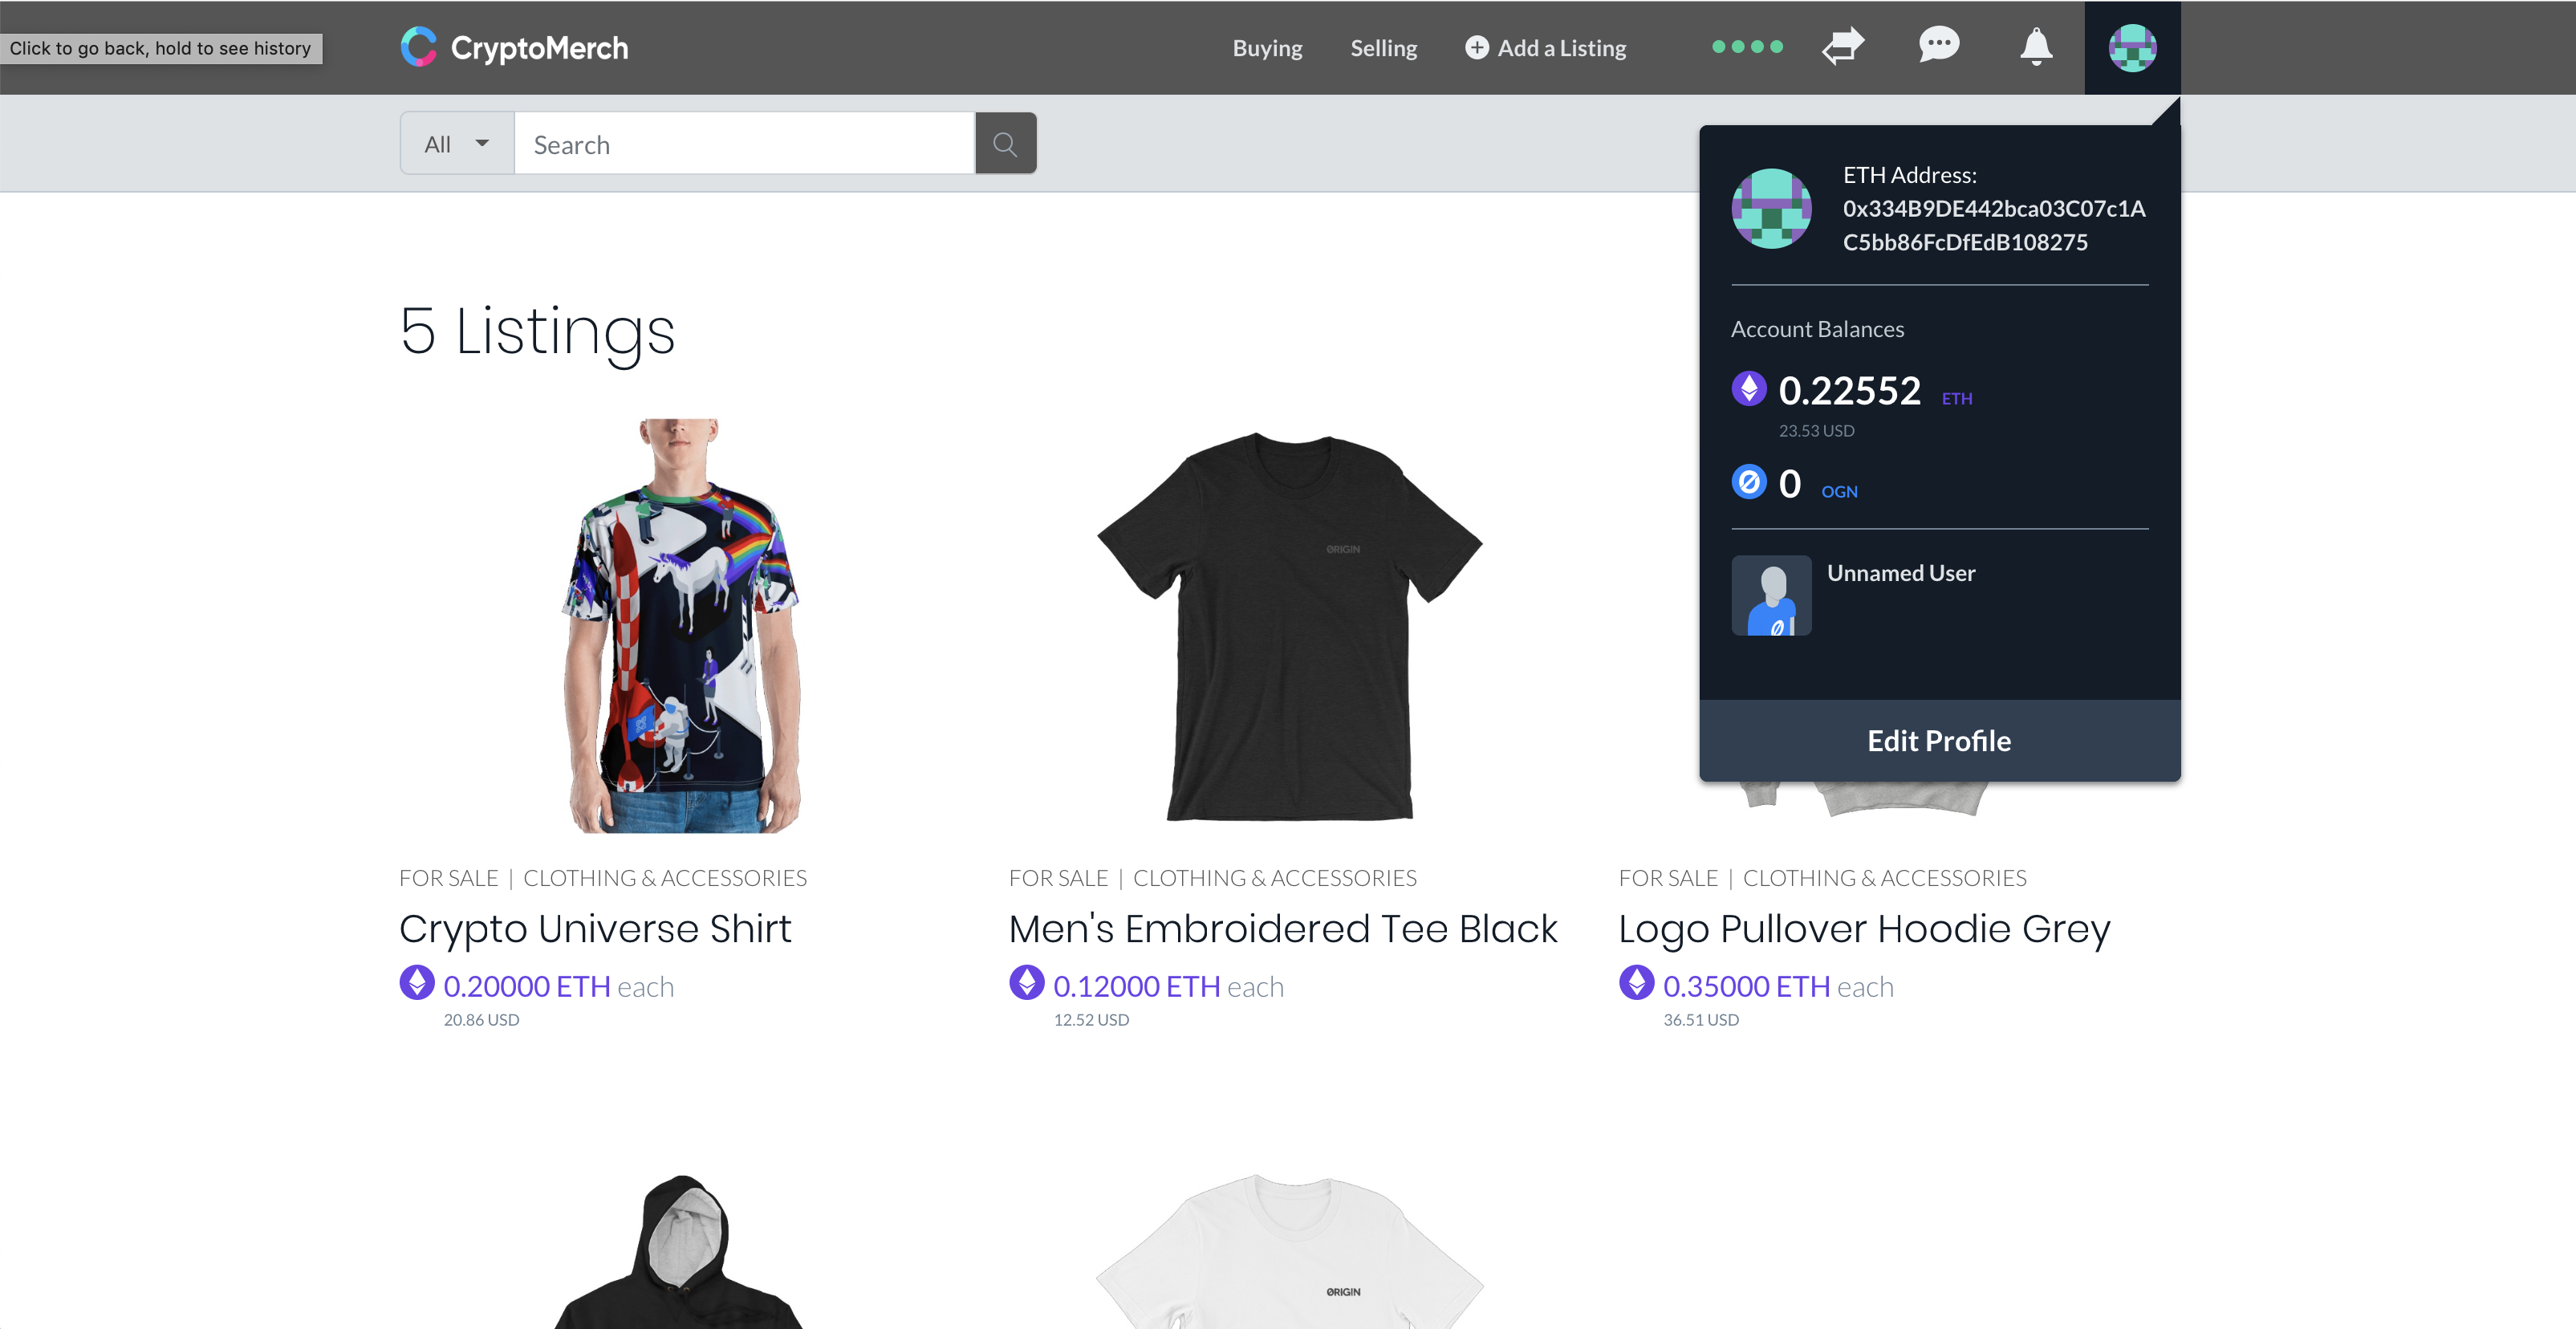
On the profile page, you can upload a profile picture, add a description, and verify your phone, email, etc. Importantly, after you verify your user data, you will still need to publish this to the blockchain so that other users can see your profile data. After you are done, click ‘Publish Now’. You will see another prompt, read it and click ‘Let’s do it!’. You will then be prompted to confirm a transaction on MetaMask.
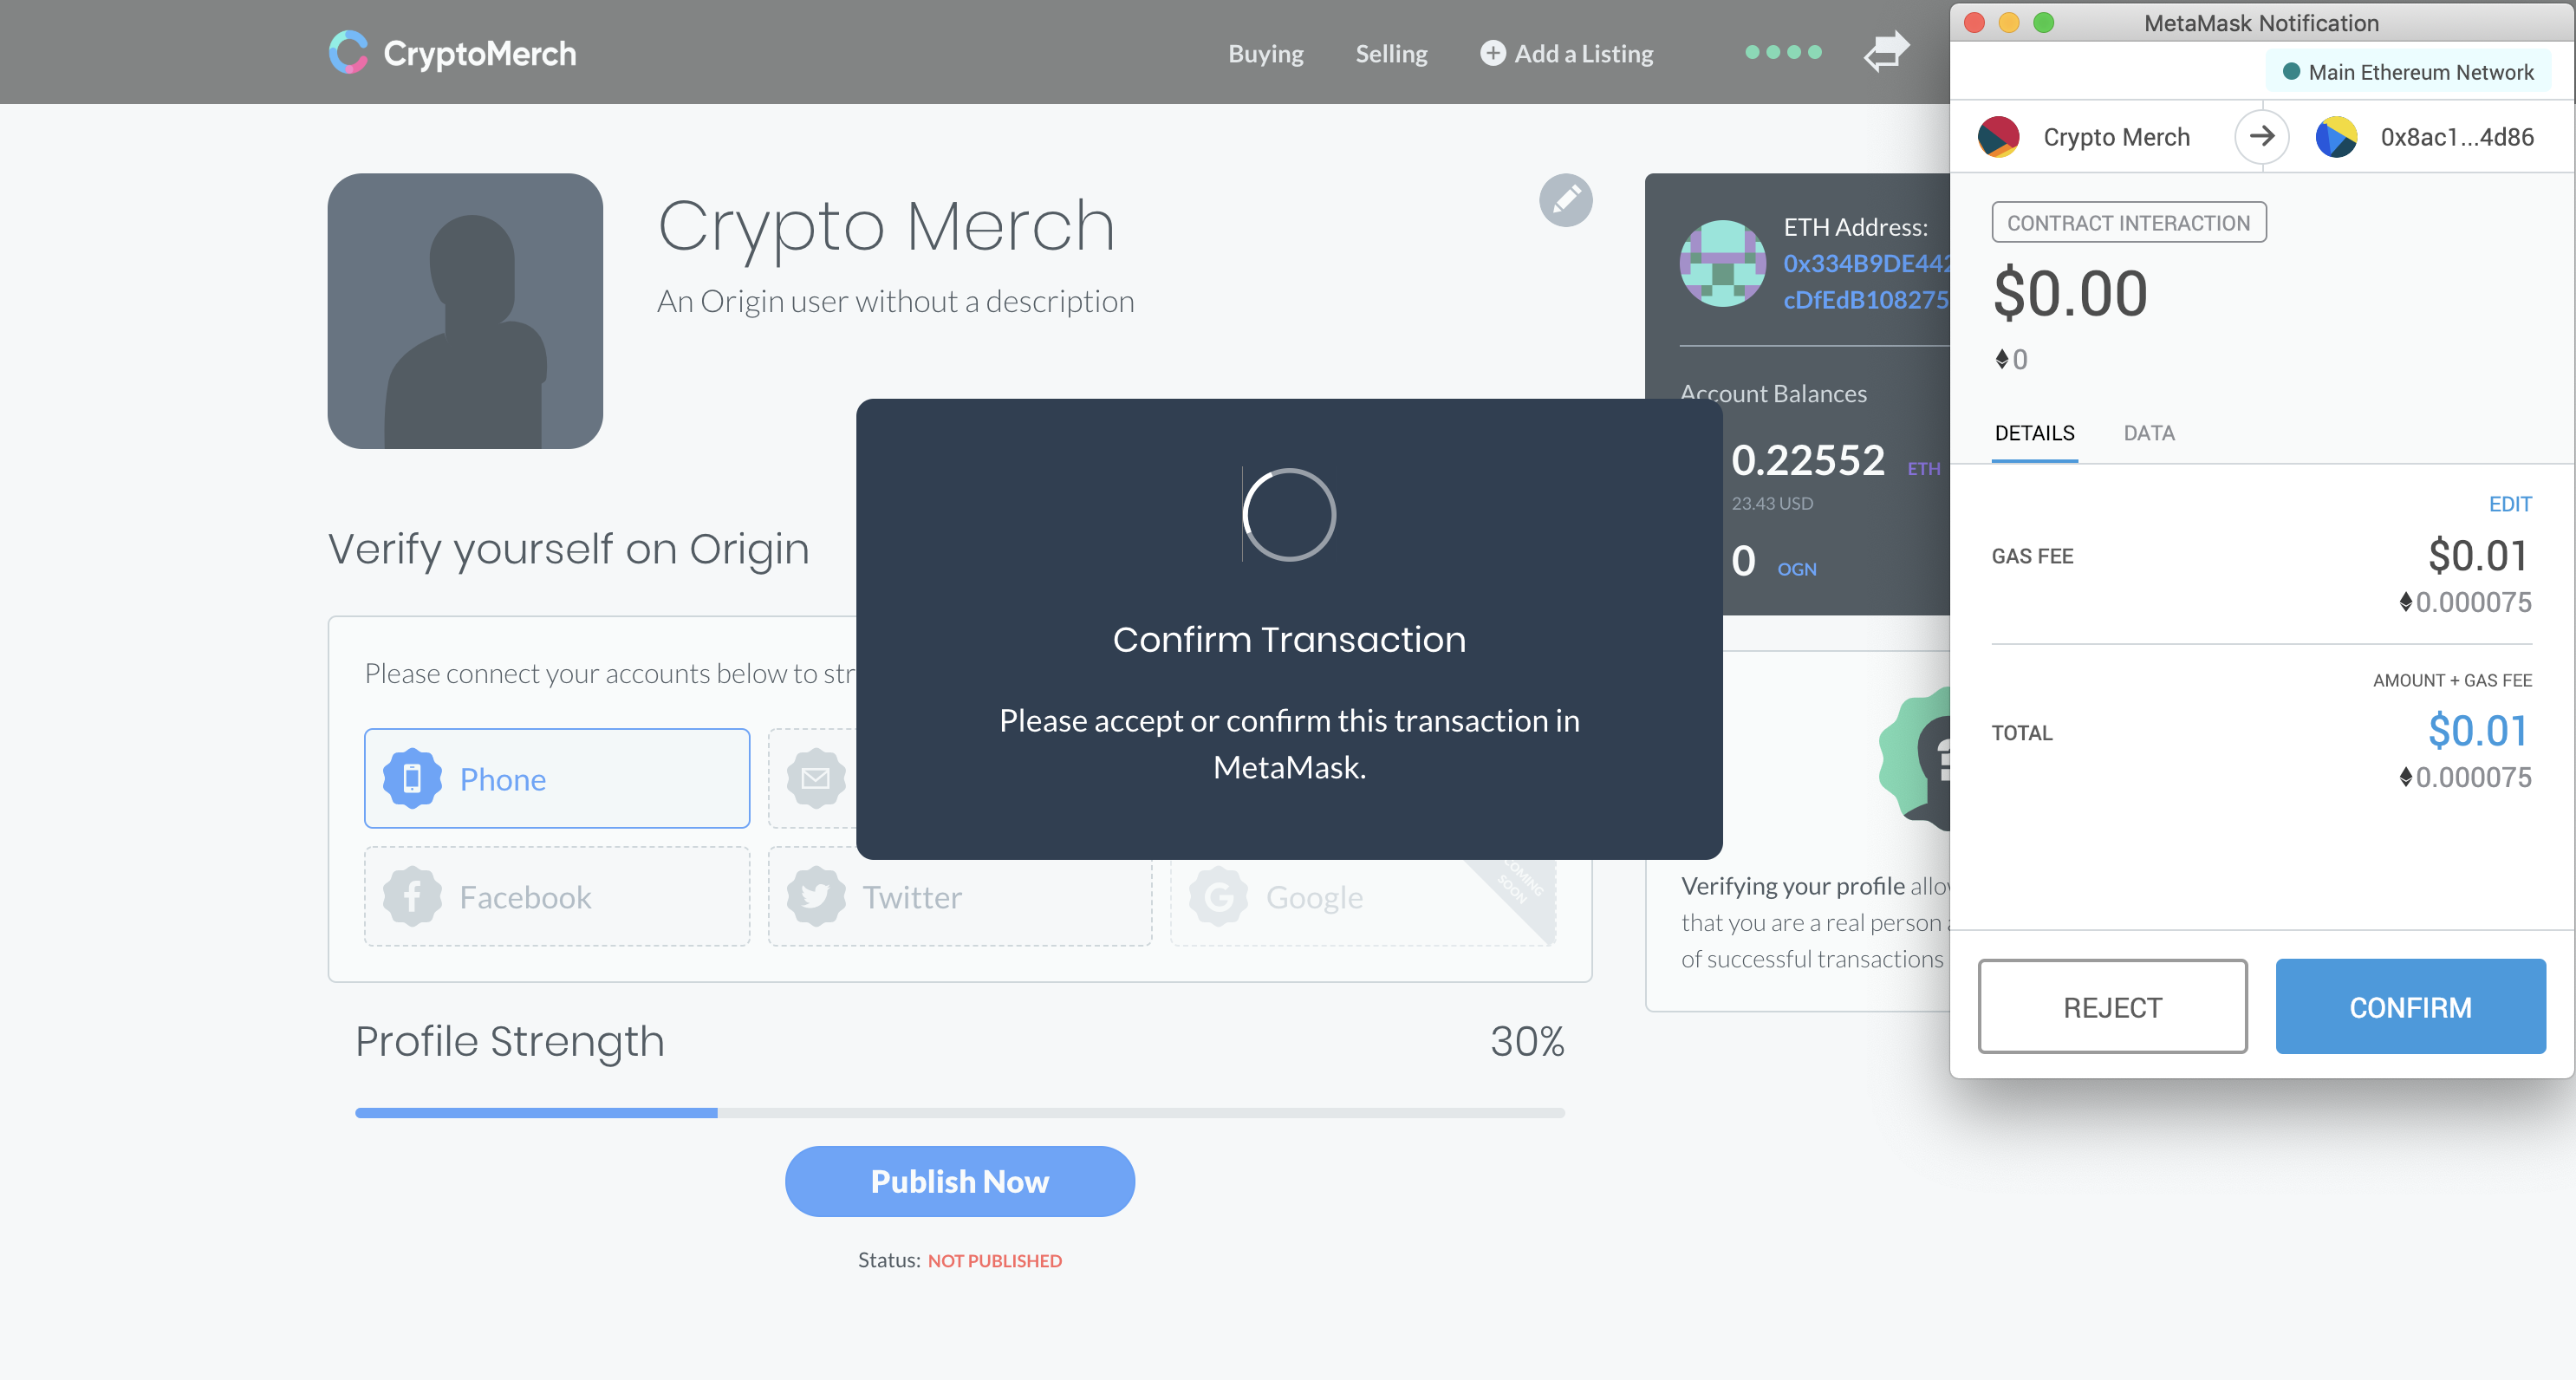
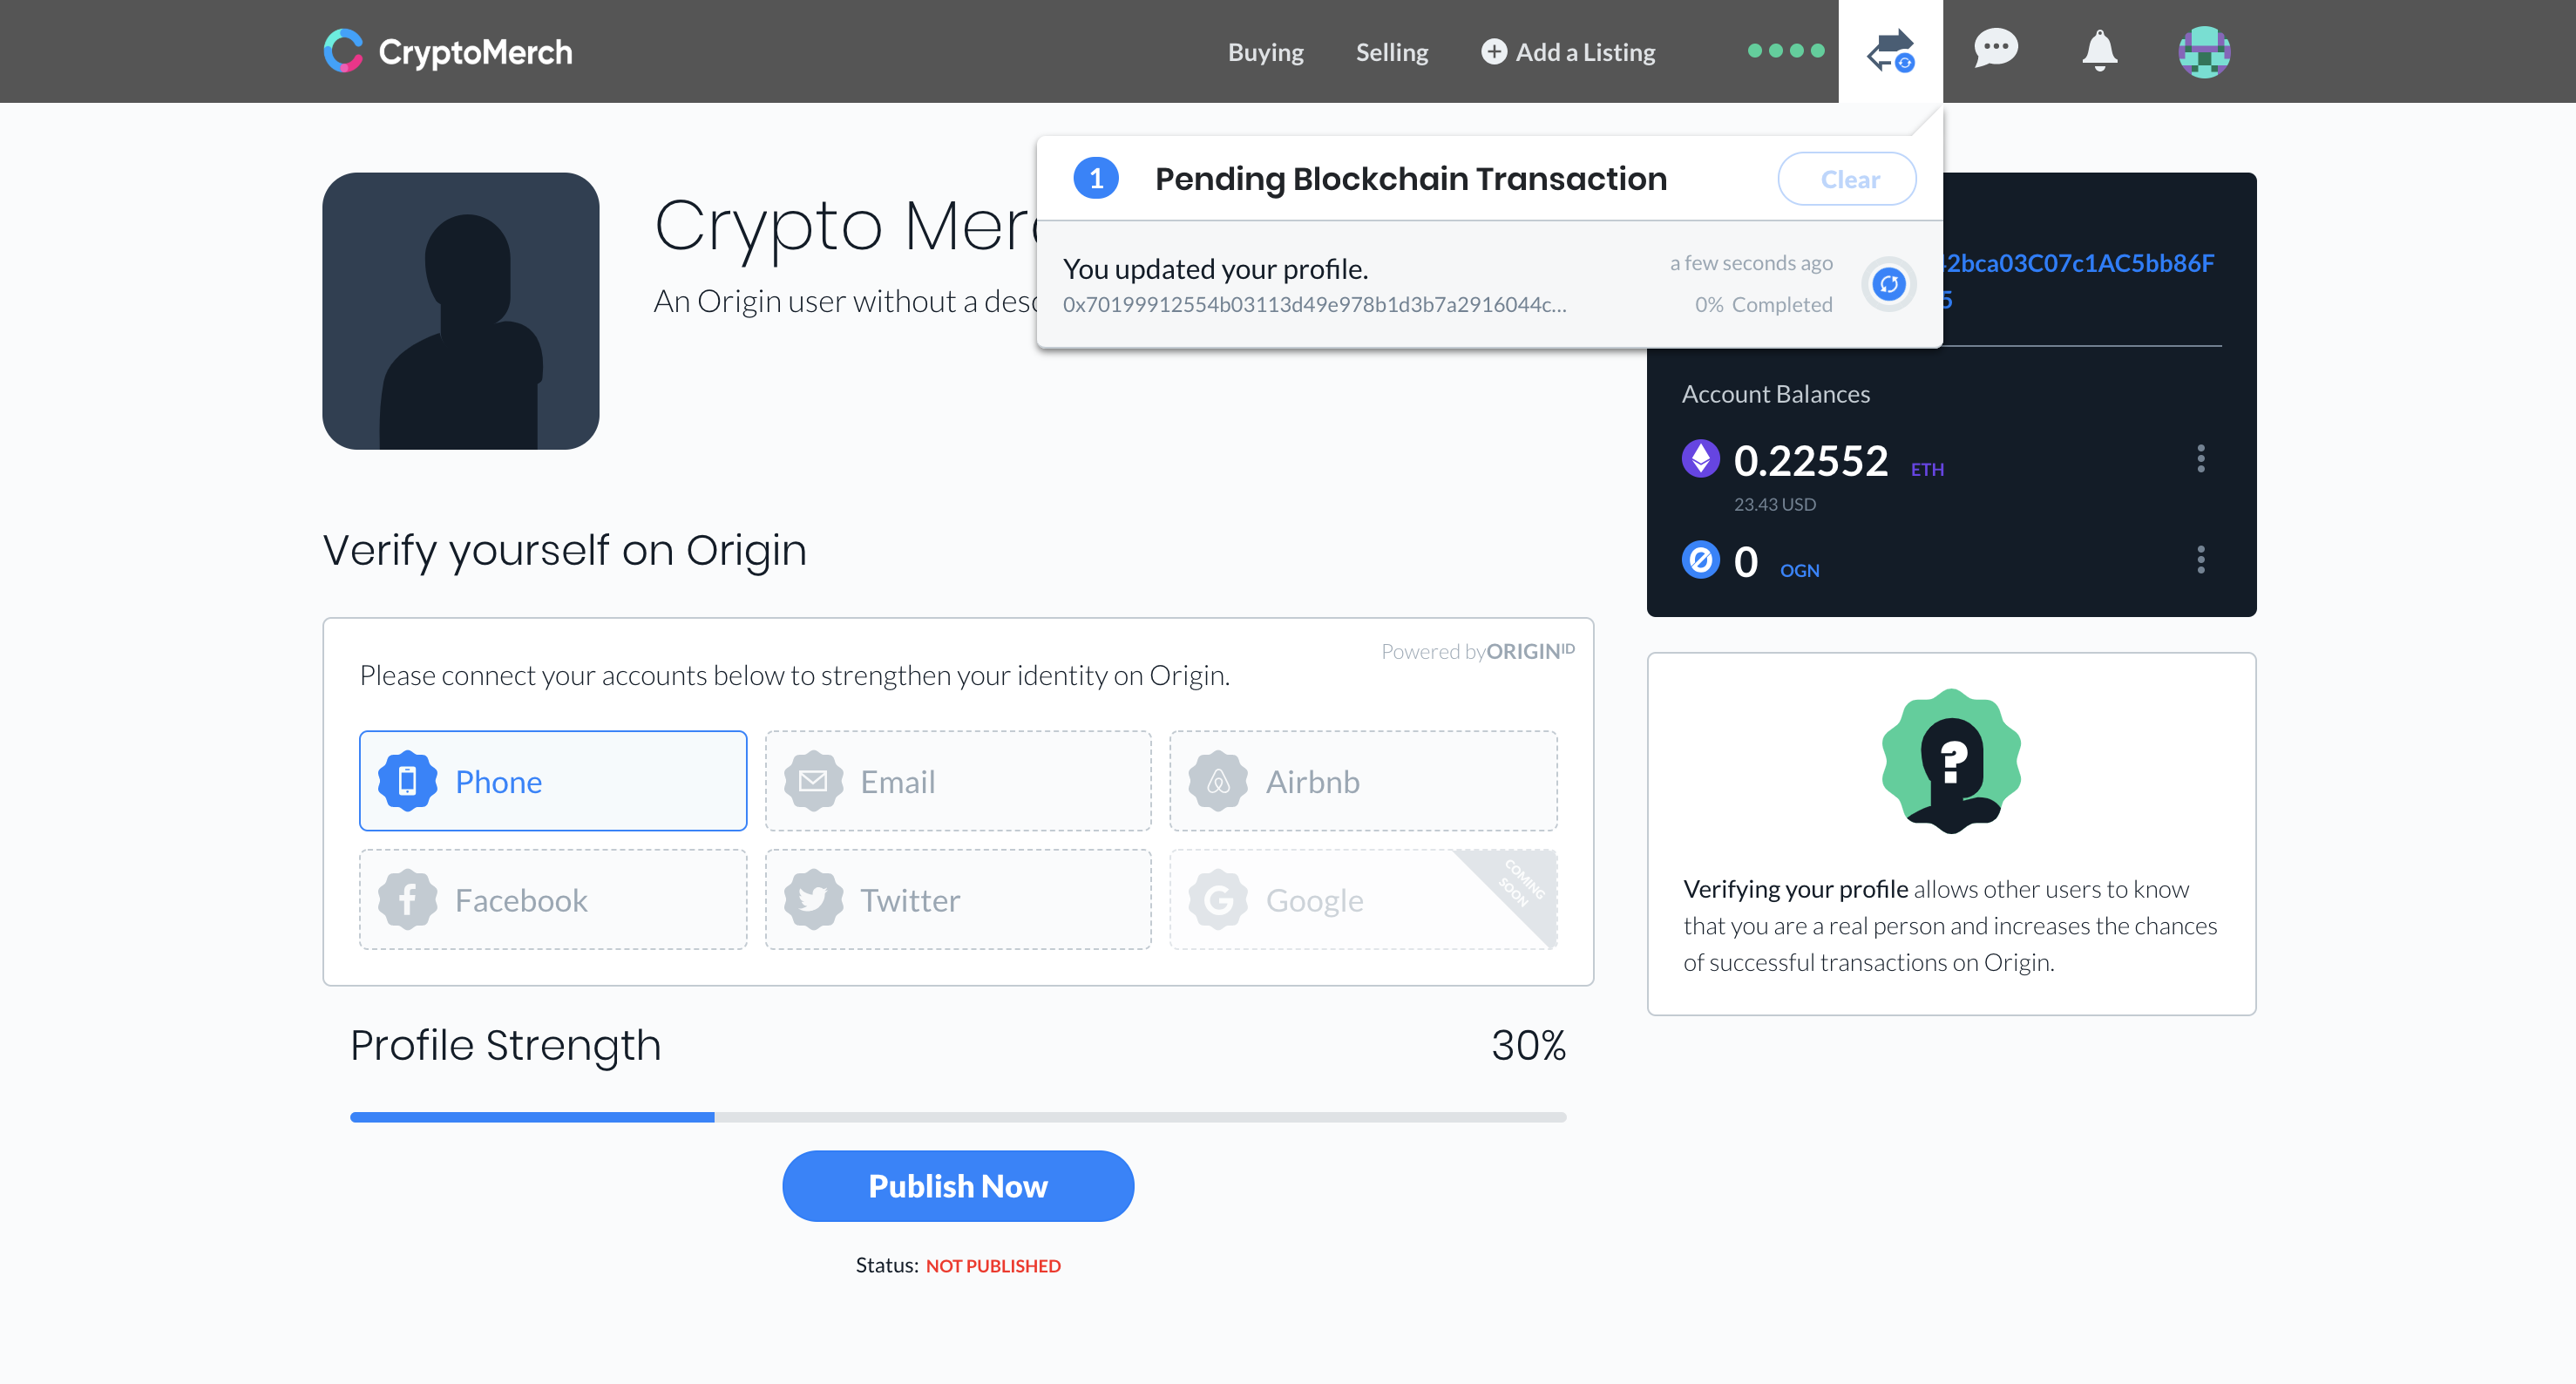
Click confirm; the transaction should cost about $0.01. The changes may take a while to publish, and you will be able to see the status in the menu bar.
Enabling Messaging
Next, to communicate with other users on the platform, you will need to enable messaging. This is important as it means you can answer questions someone might have about your good or service.
To enable messaging between yourself and potential buyers, you will need to create two signatures (by signing twice) with MetaMask. Click the message bubble and then click ‘Enable Messaging’. MetaMask should pop up and ask you to sign a message. Click sign. This will not cost anything.

After clicking sign, it will take you to the messaging center. If not, click the message bubble and ‘View All’. There will be a button that says ‘Enable Messaging’ again, click it.
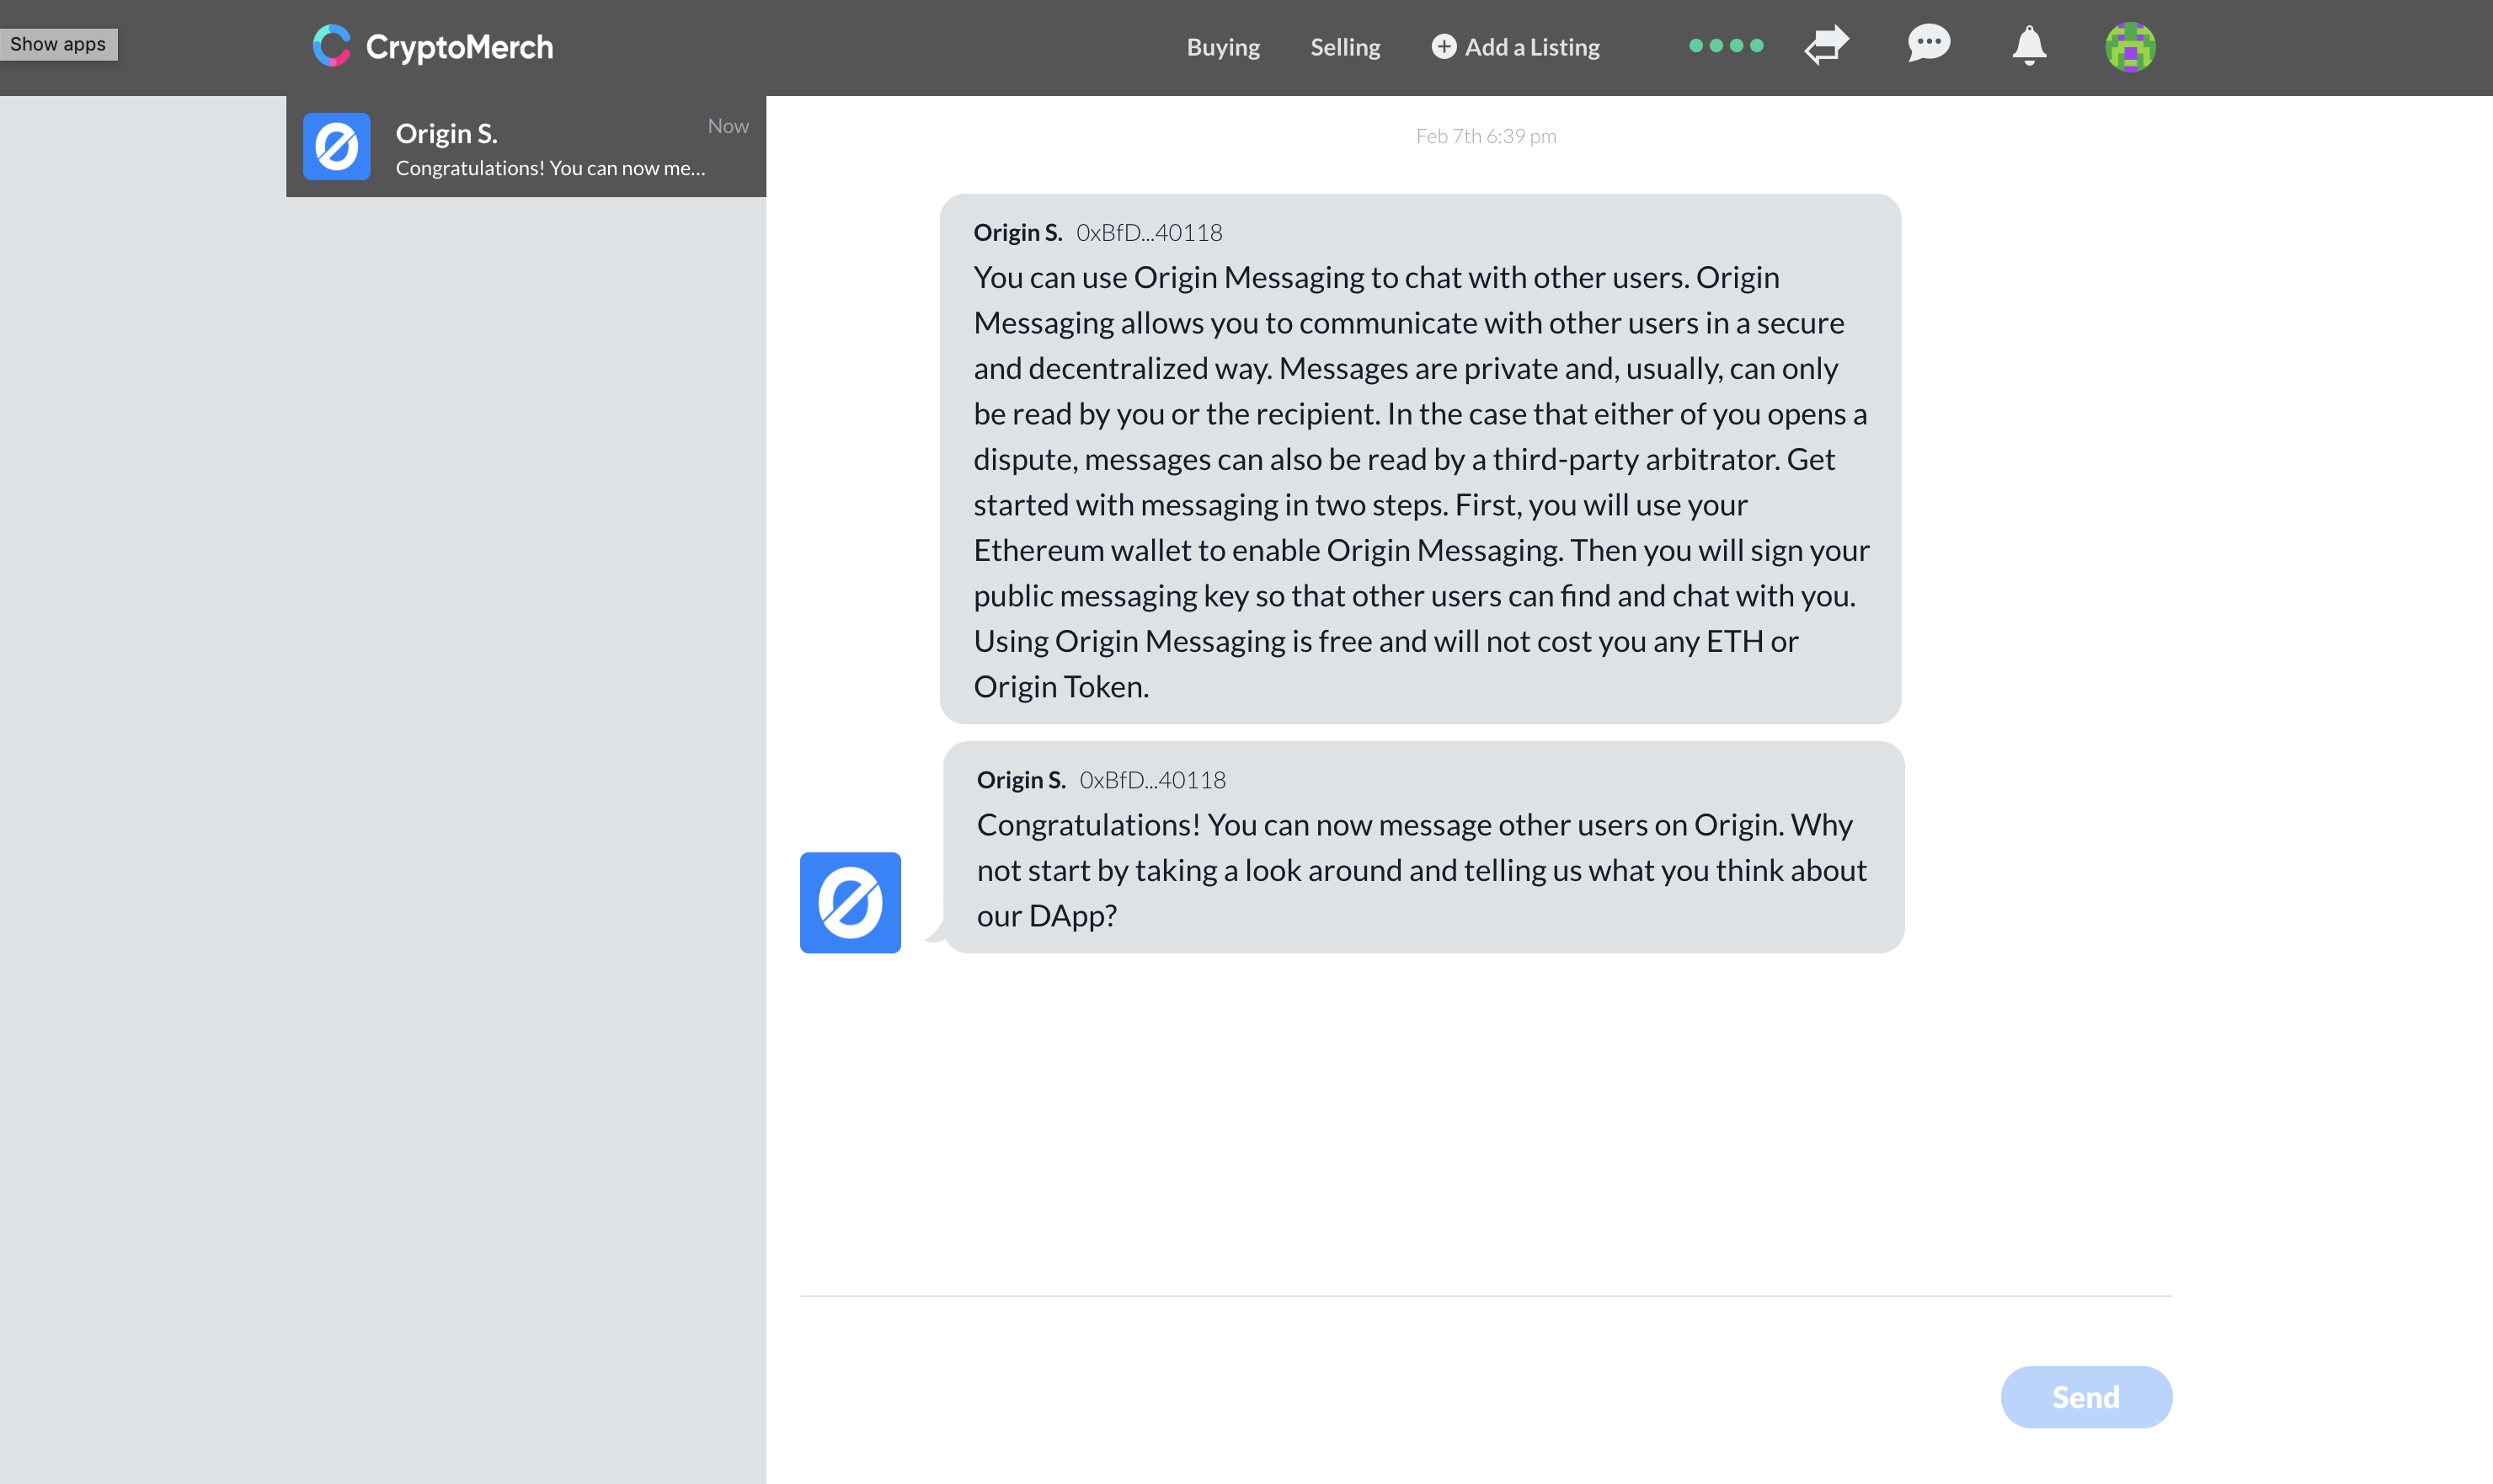
You can see the MetaMask fox icon has a ‘1’ notification on it in the browser bar, open MetaMask and sign again.
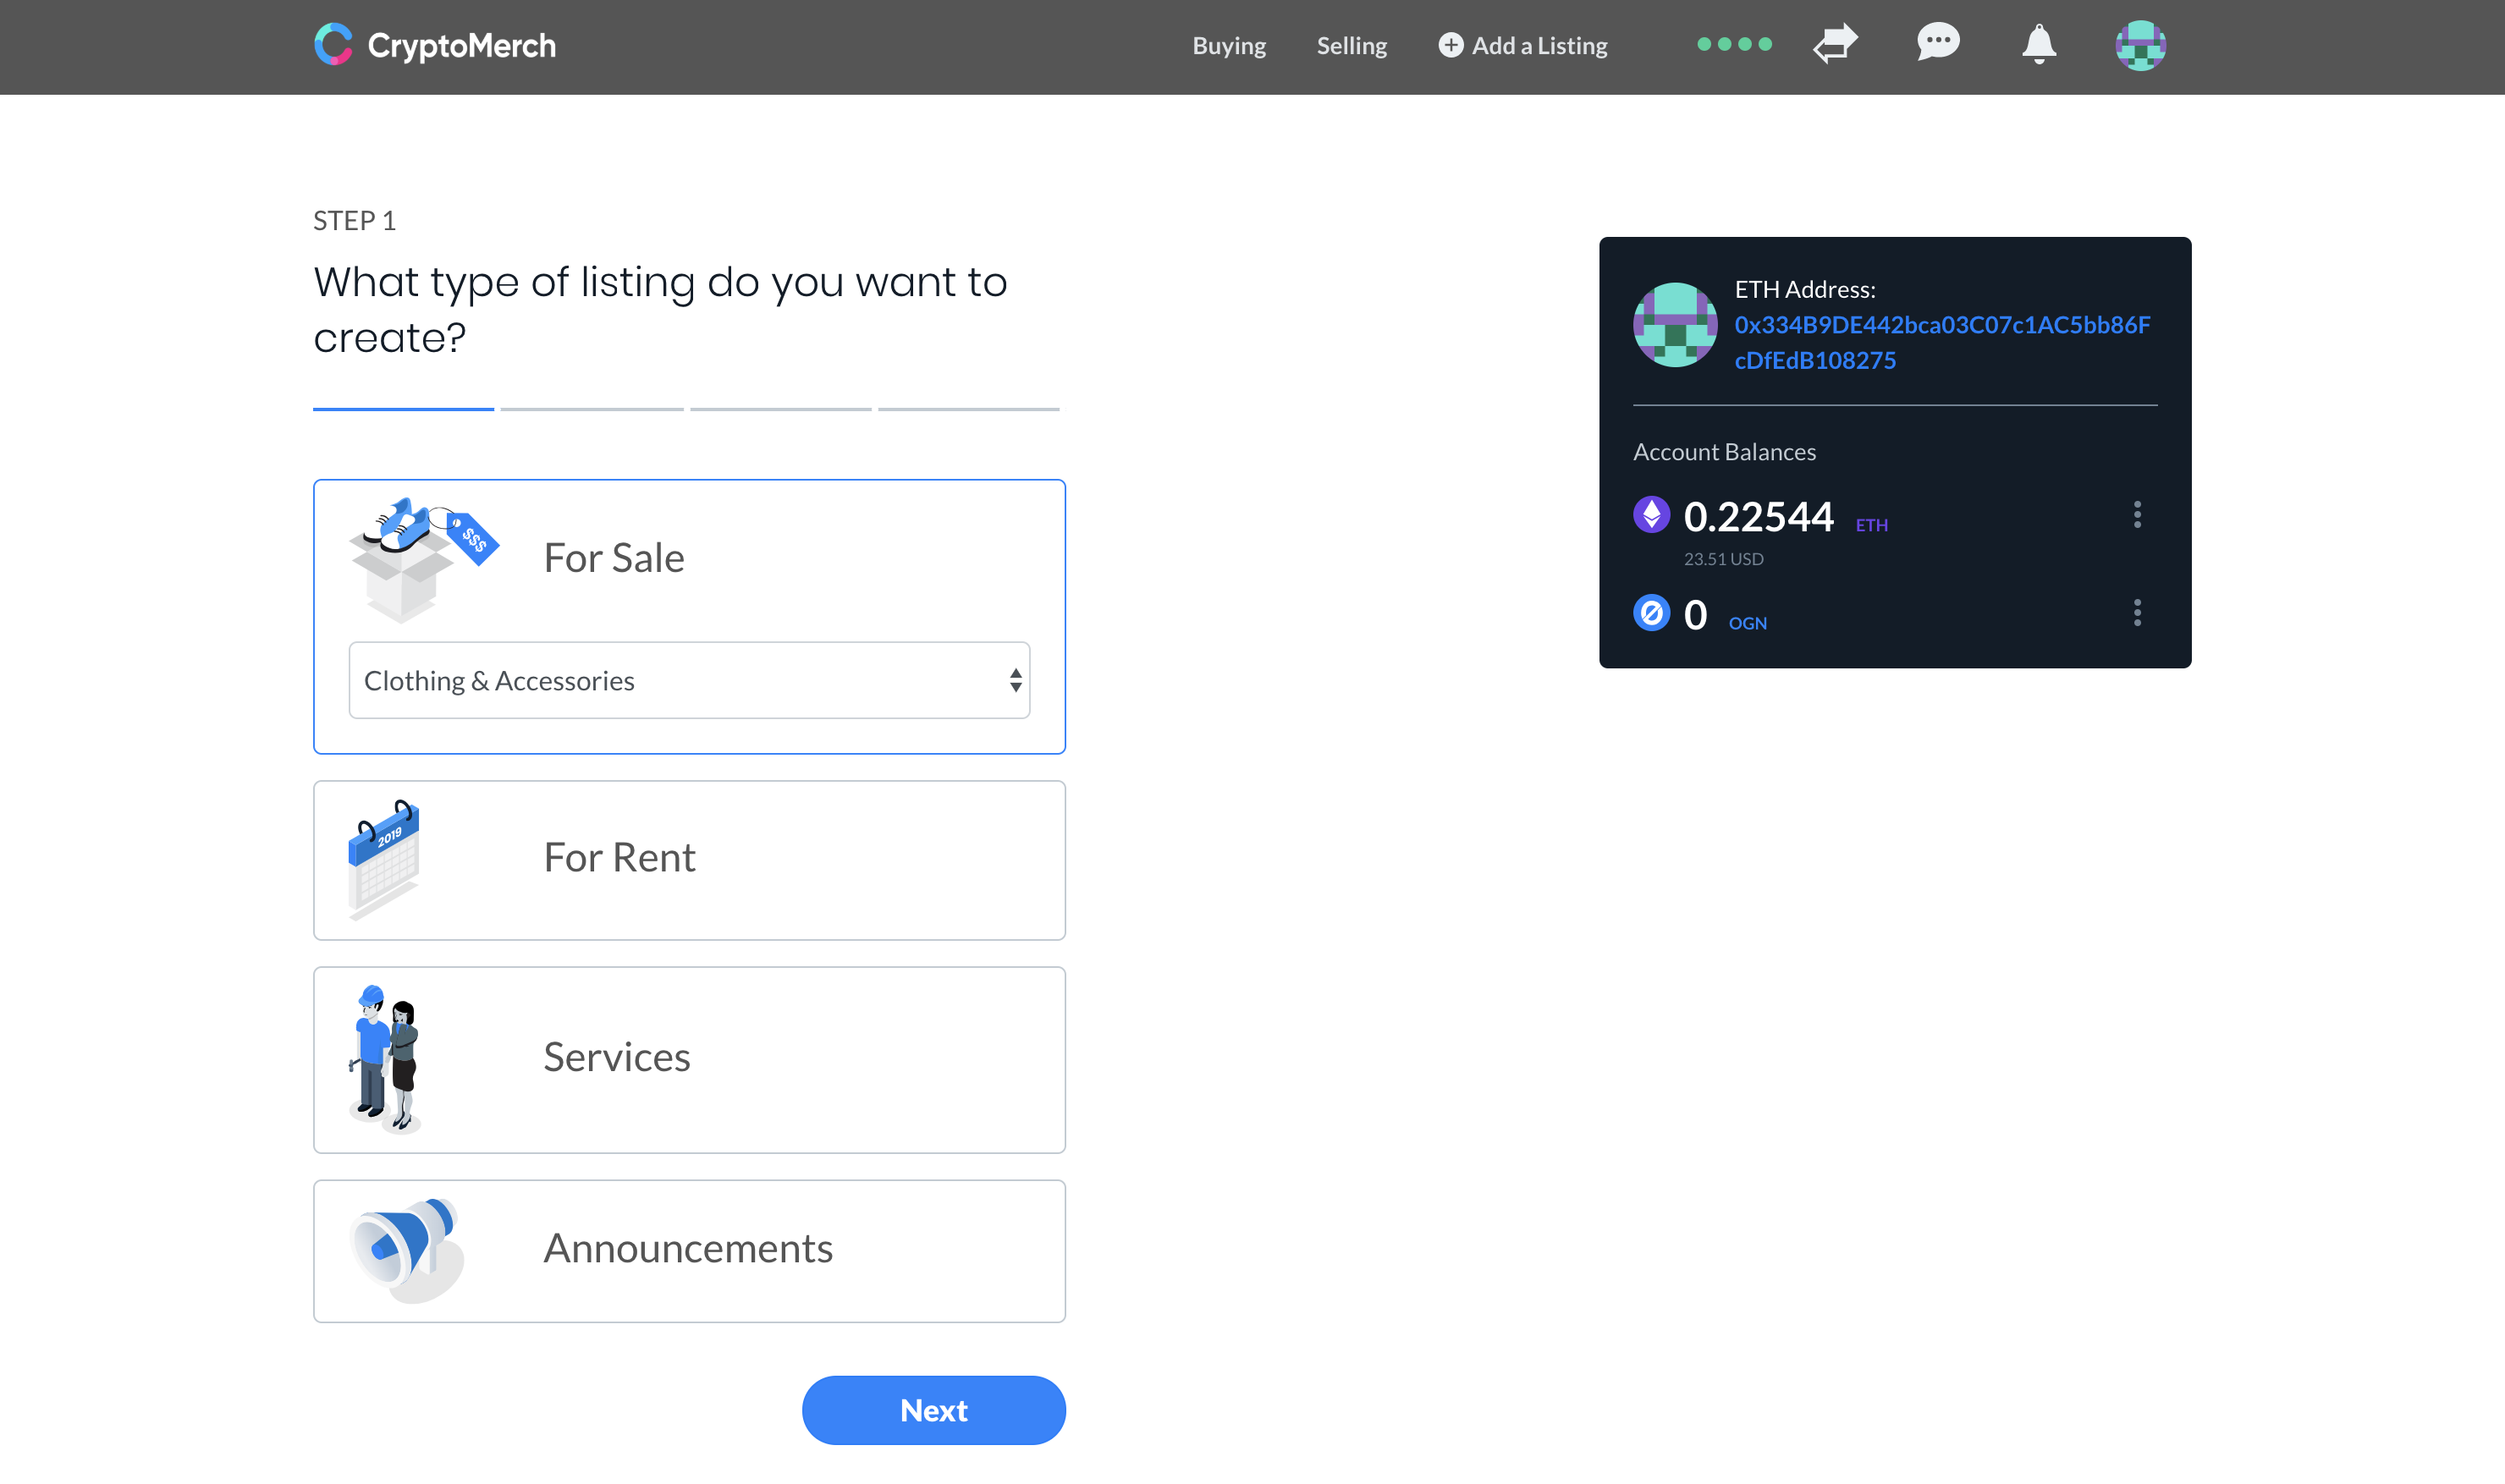
Creating a Listing
Next, let’s create a listing. Click ‘+ Add a Listing’ in the menu bar. As an example, let’s select ‘Clothing & Accessories’ as the category.
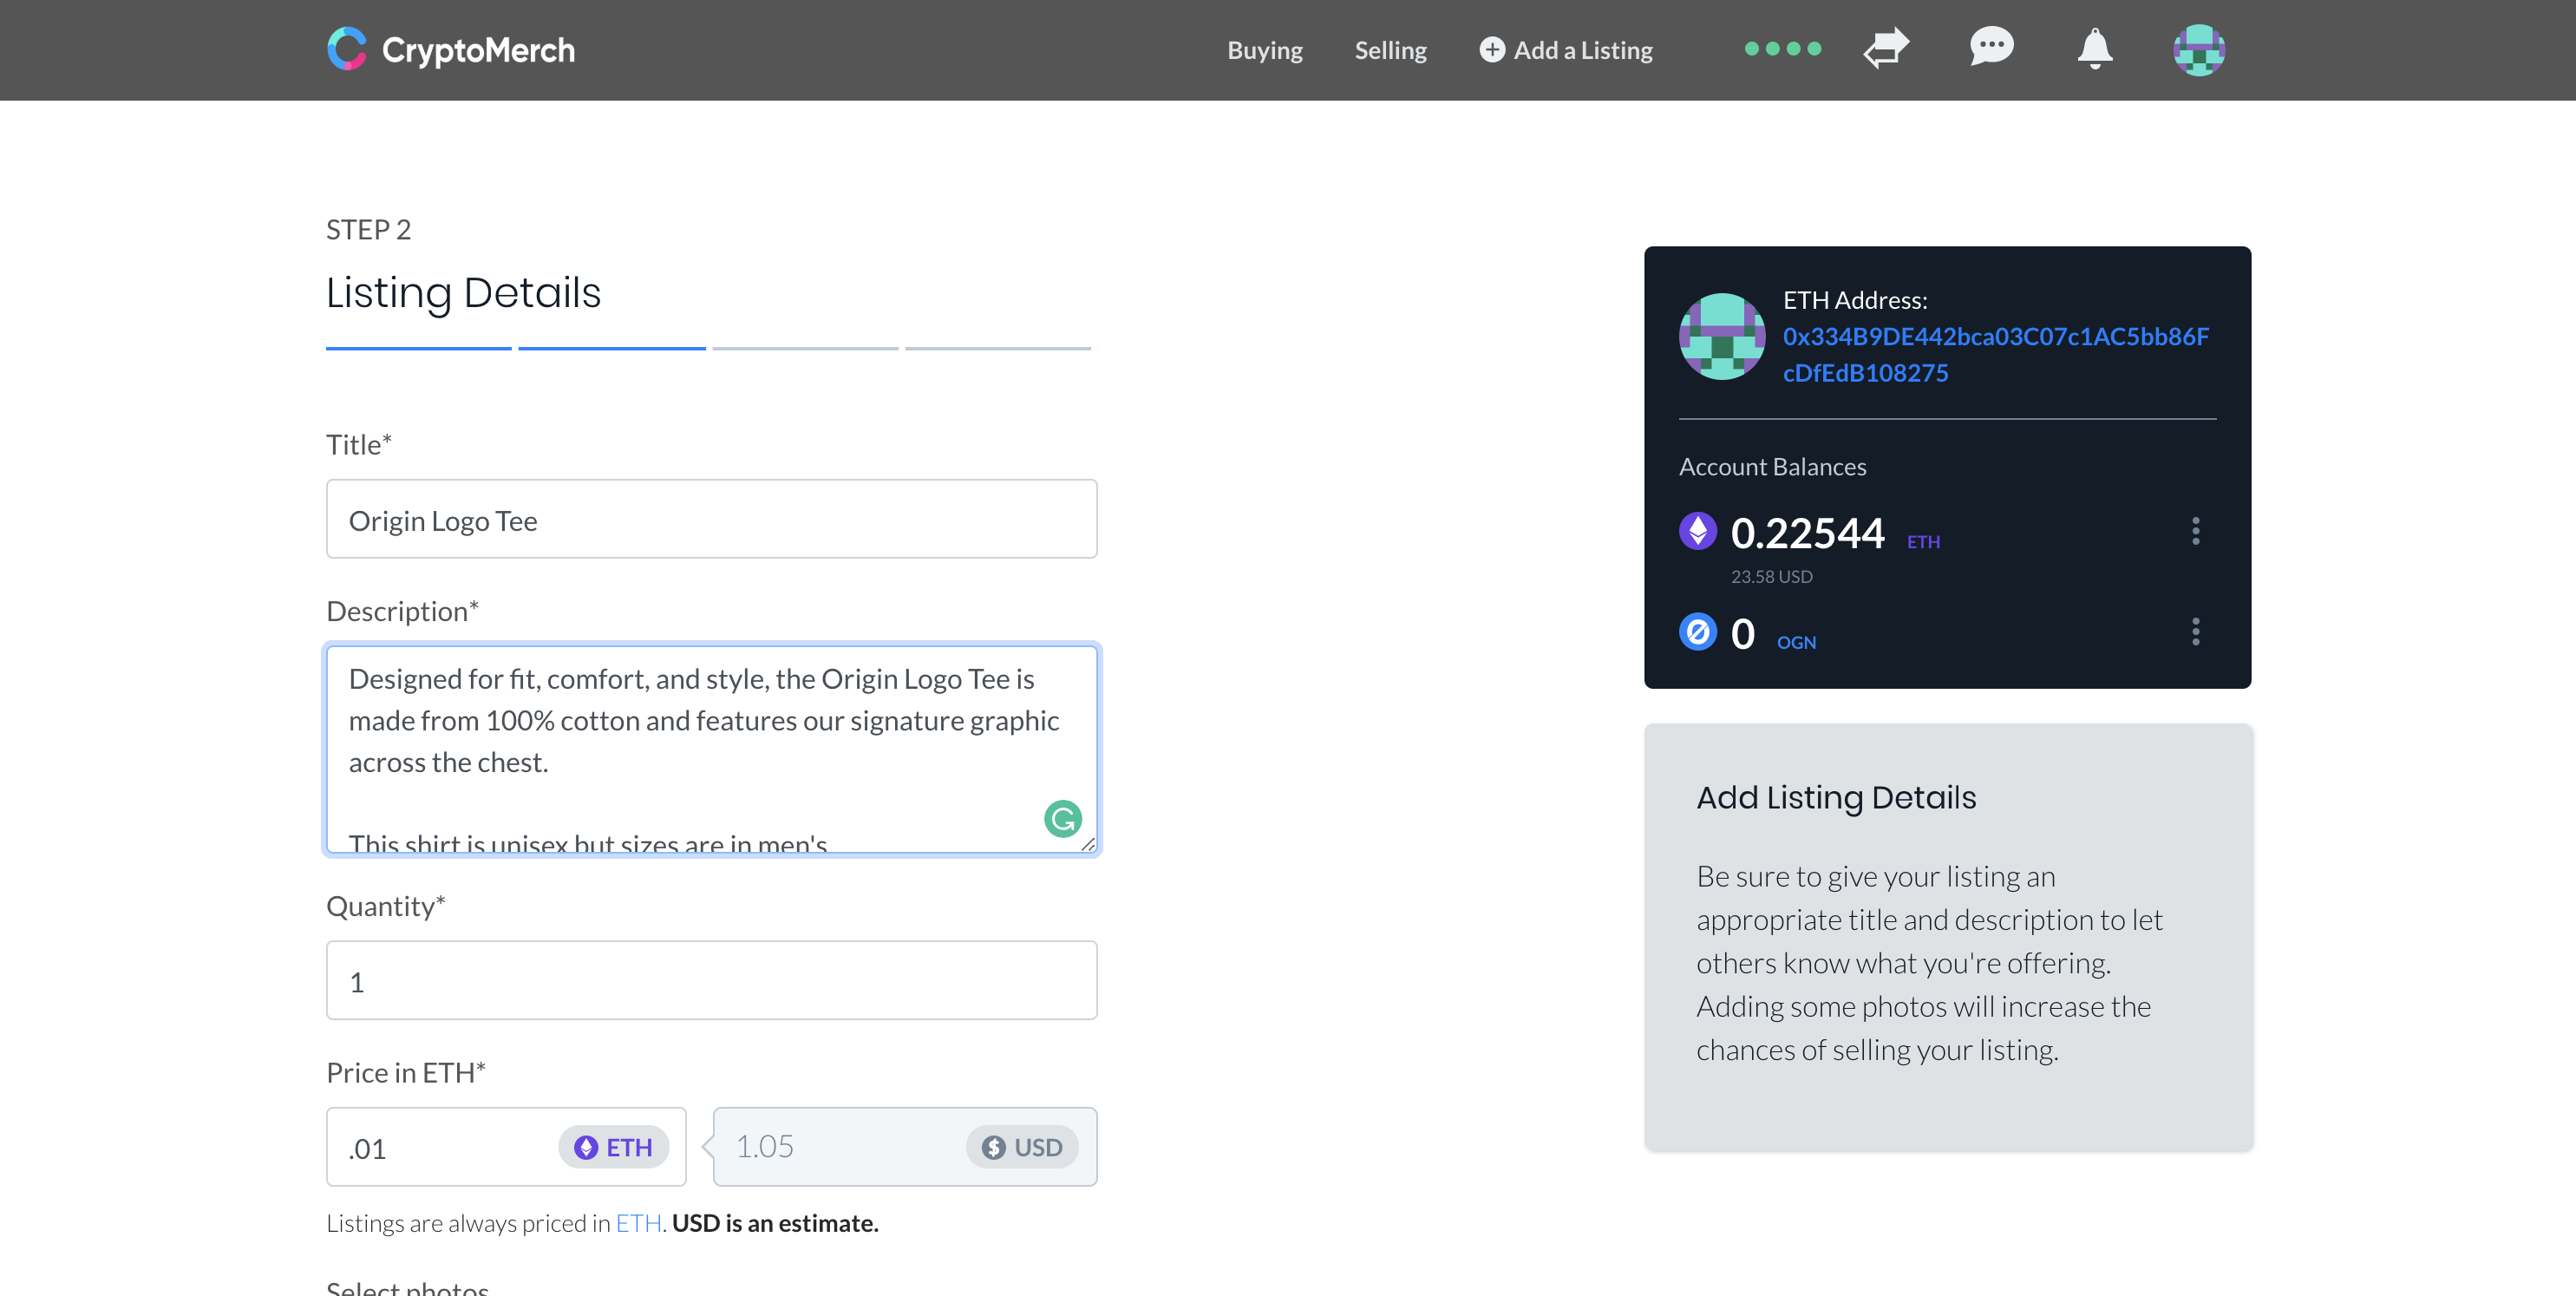
We can fill out information about the item for sale and choose a price in ETH with the equivalent in US dollars displayed (at the time of listing, ETH price fluctuates!).
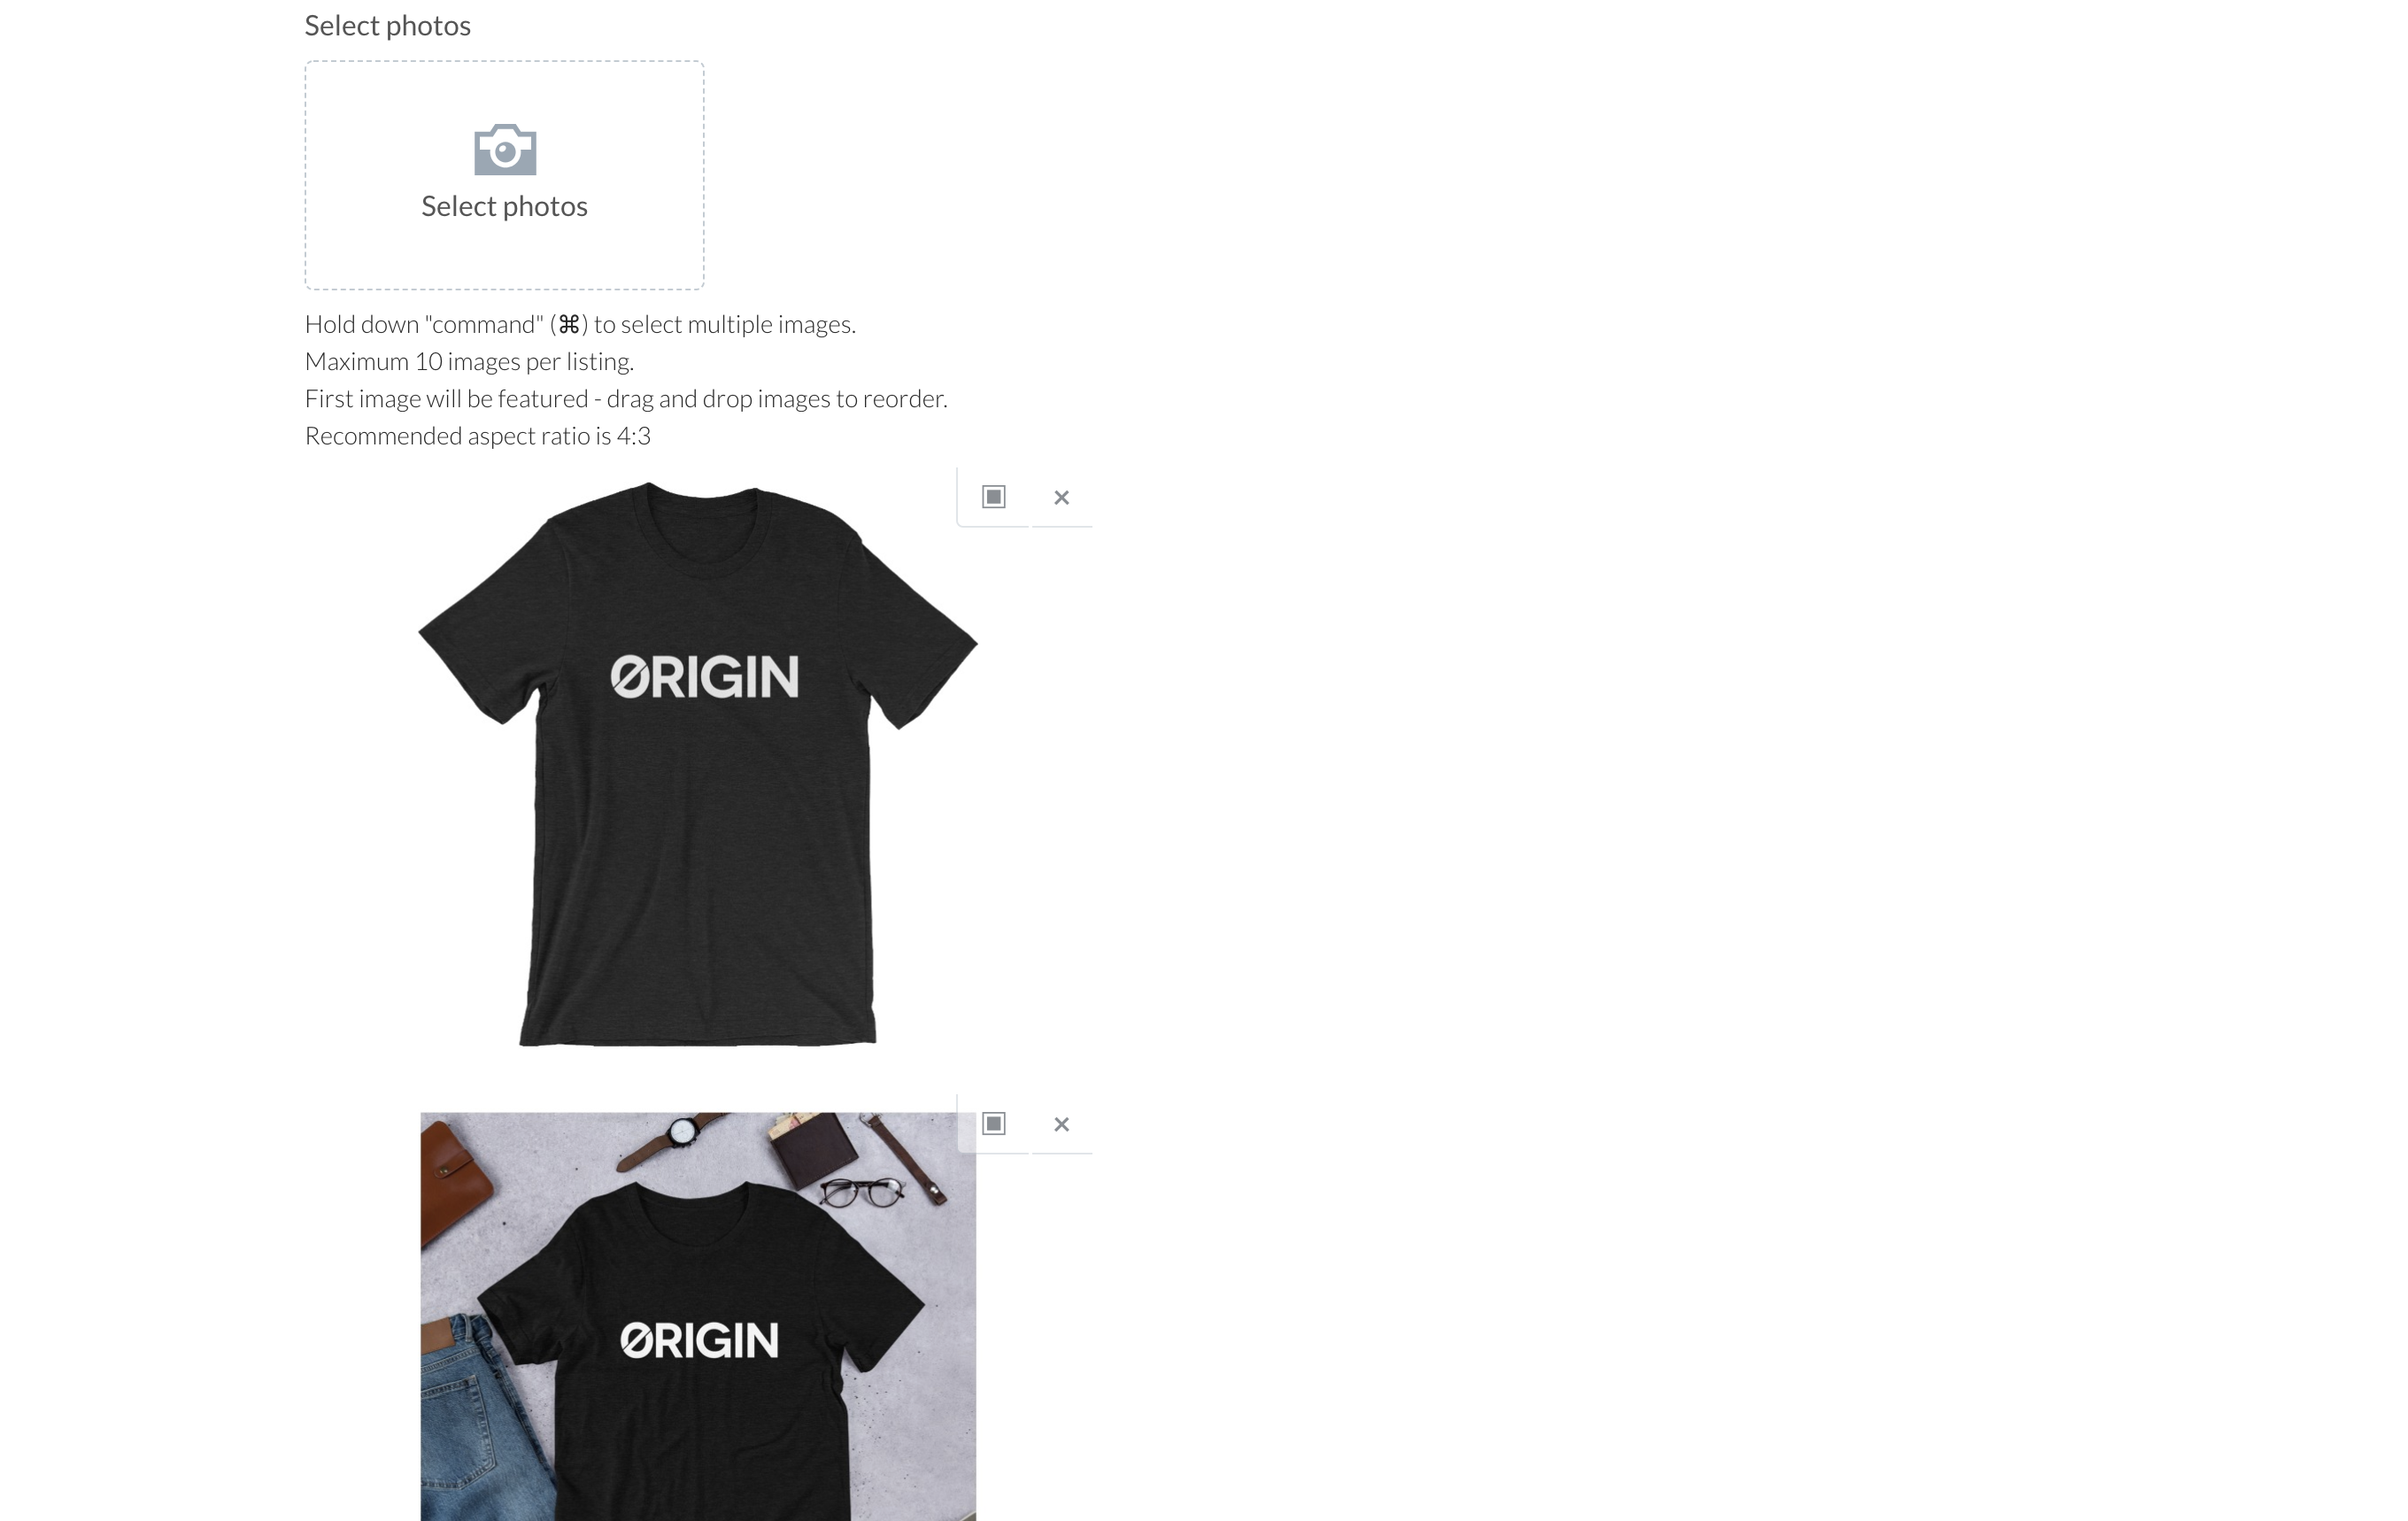
We can add multiple photos and drag and drop to rearrange the order of photos displayed.
Clicking ‘Continue’, we move onto the ‘Boost Your Listing’ page. We can ignore this for now since we don’t have any OGN tokens (Origin coins).
Click ‘Review’ to check your listing before publishing. Click ‘Done’ when you are satisfied or ‘Back’ to change details. You can always edit your listings later, as well. After clicking ‘Done’, we will have to confirm our transaction on MetaMask.
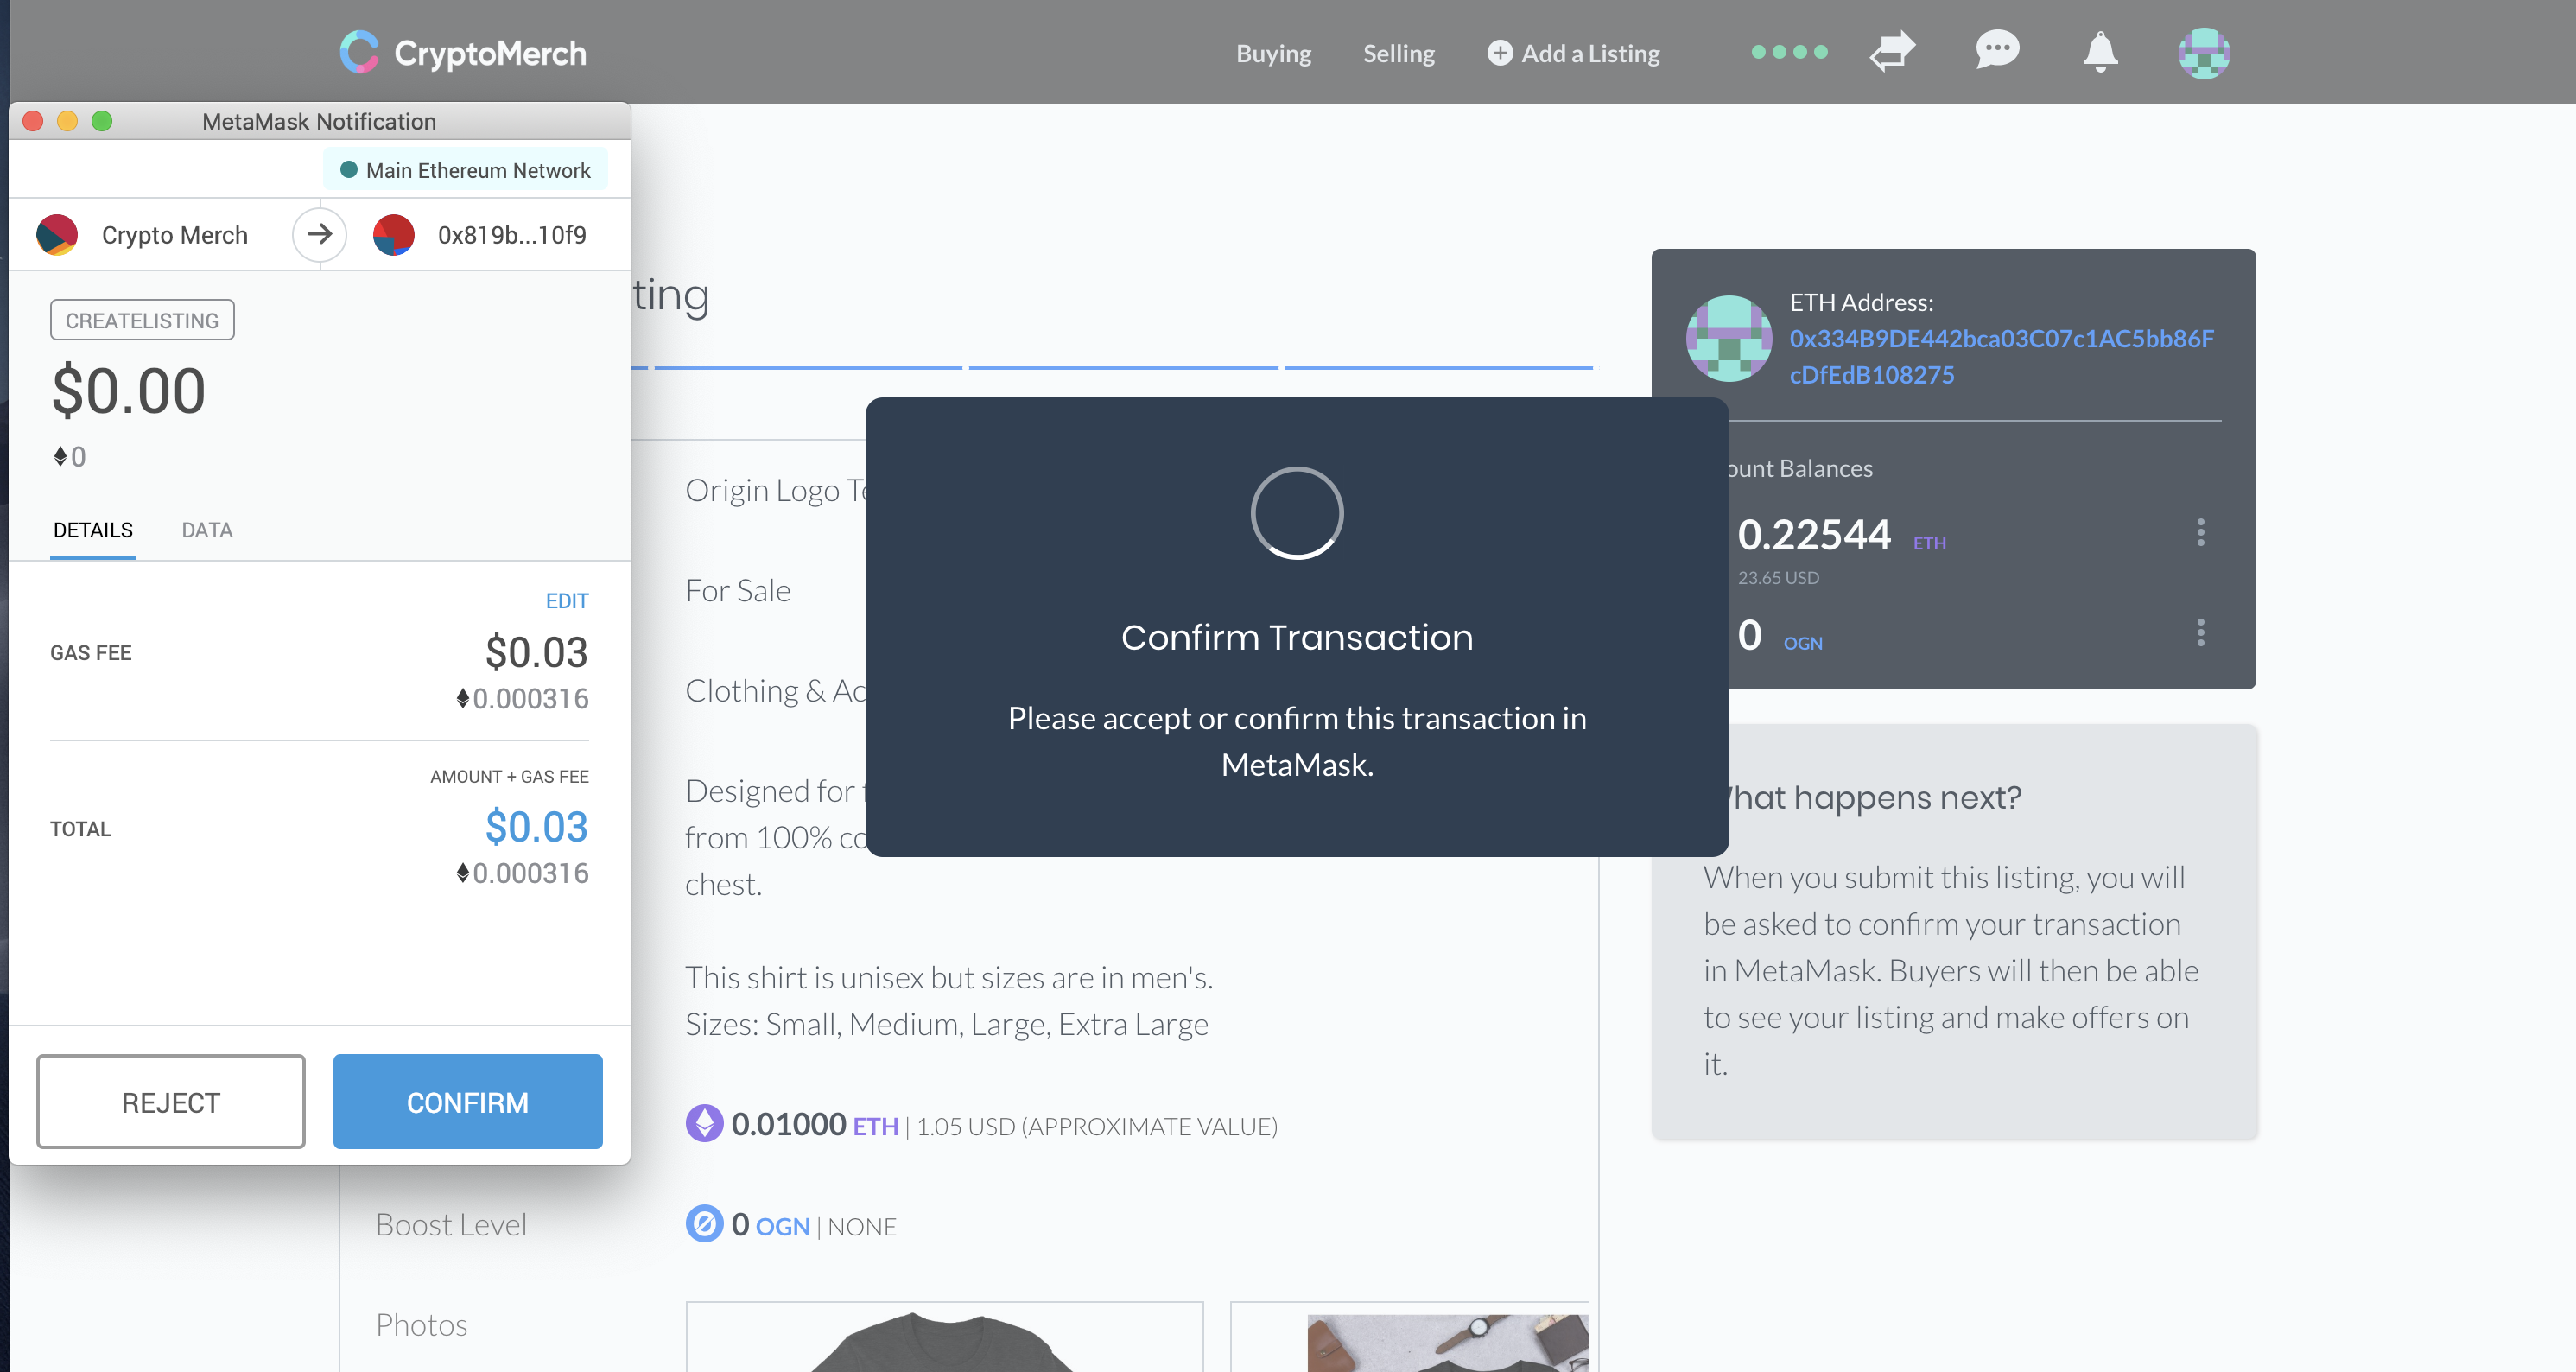
Here you can see the gas fee we pay to post the listing is about a penny. After posting the listing, we will see a prompt. Please click ‘Enable Notifications’ so you get updates when a buyer sends you a message or makes an offer.
We will see our browser ask us permission to allow notifications. Click ‘Allow’.
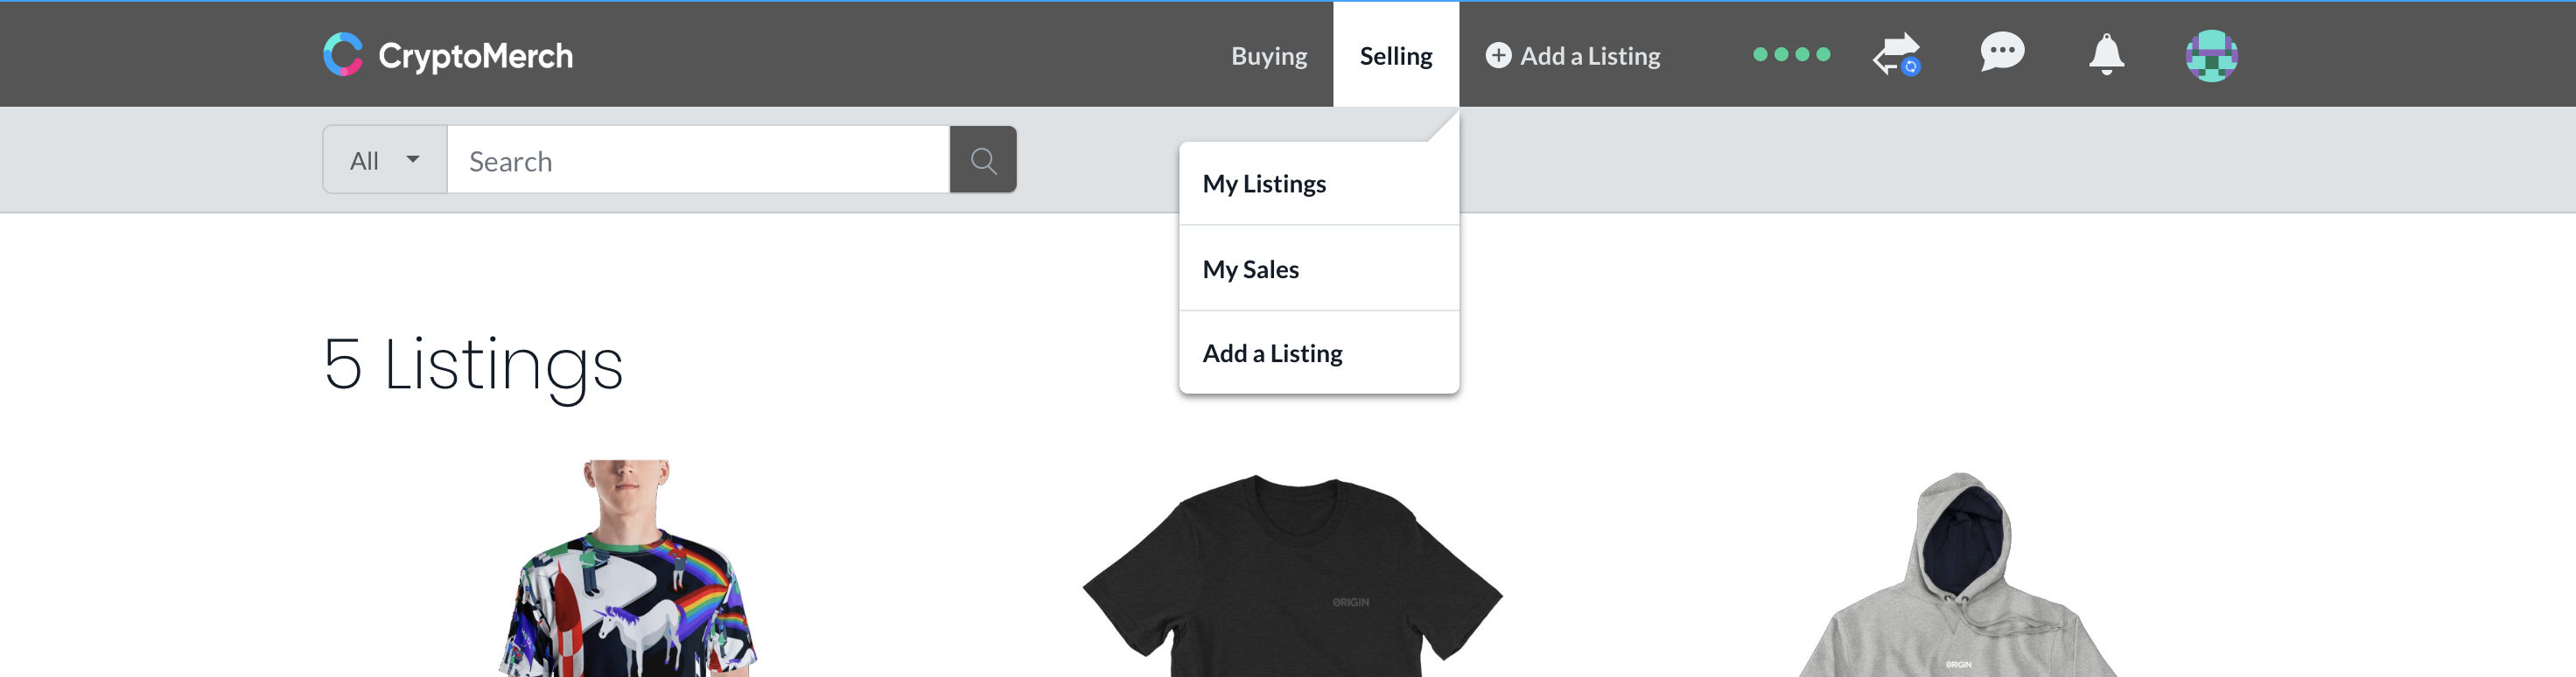
We can see our listings by clicking ‘Selling’ and ‘My Listings’ in the menu.
Completing a Sale
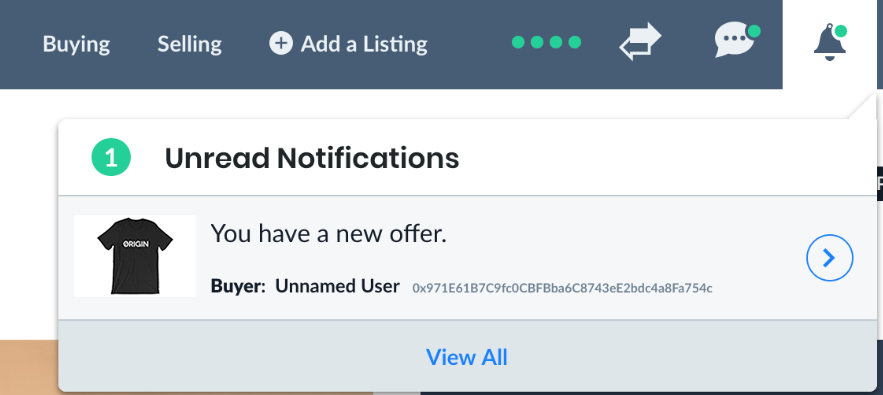
When a buyer makes an offer on your art, you should receive a notification from your browser and see it in the Crypto Merch bar.
If we are comfortable accepting the offer, we can hit ‘Accept’. We can also message the buyer by clicking ‘Contact Buyer’ to discuss any questions you may have for the buyer.
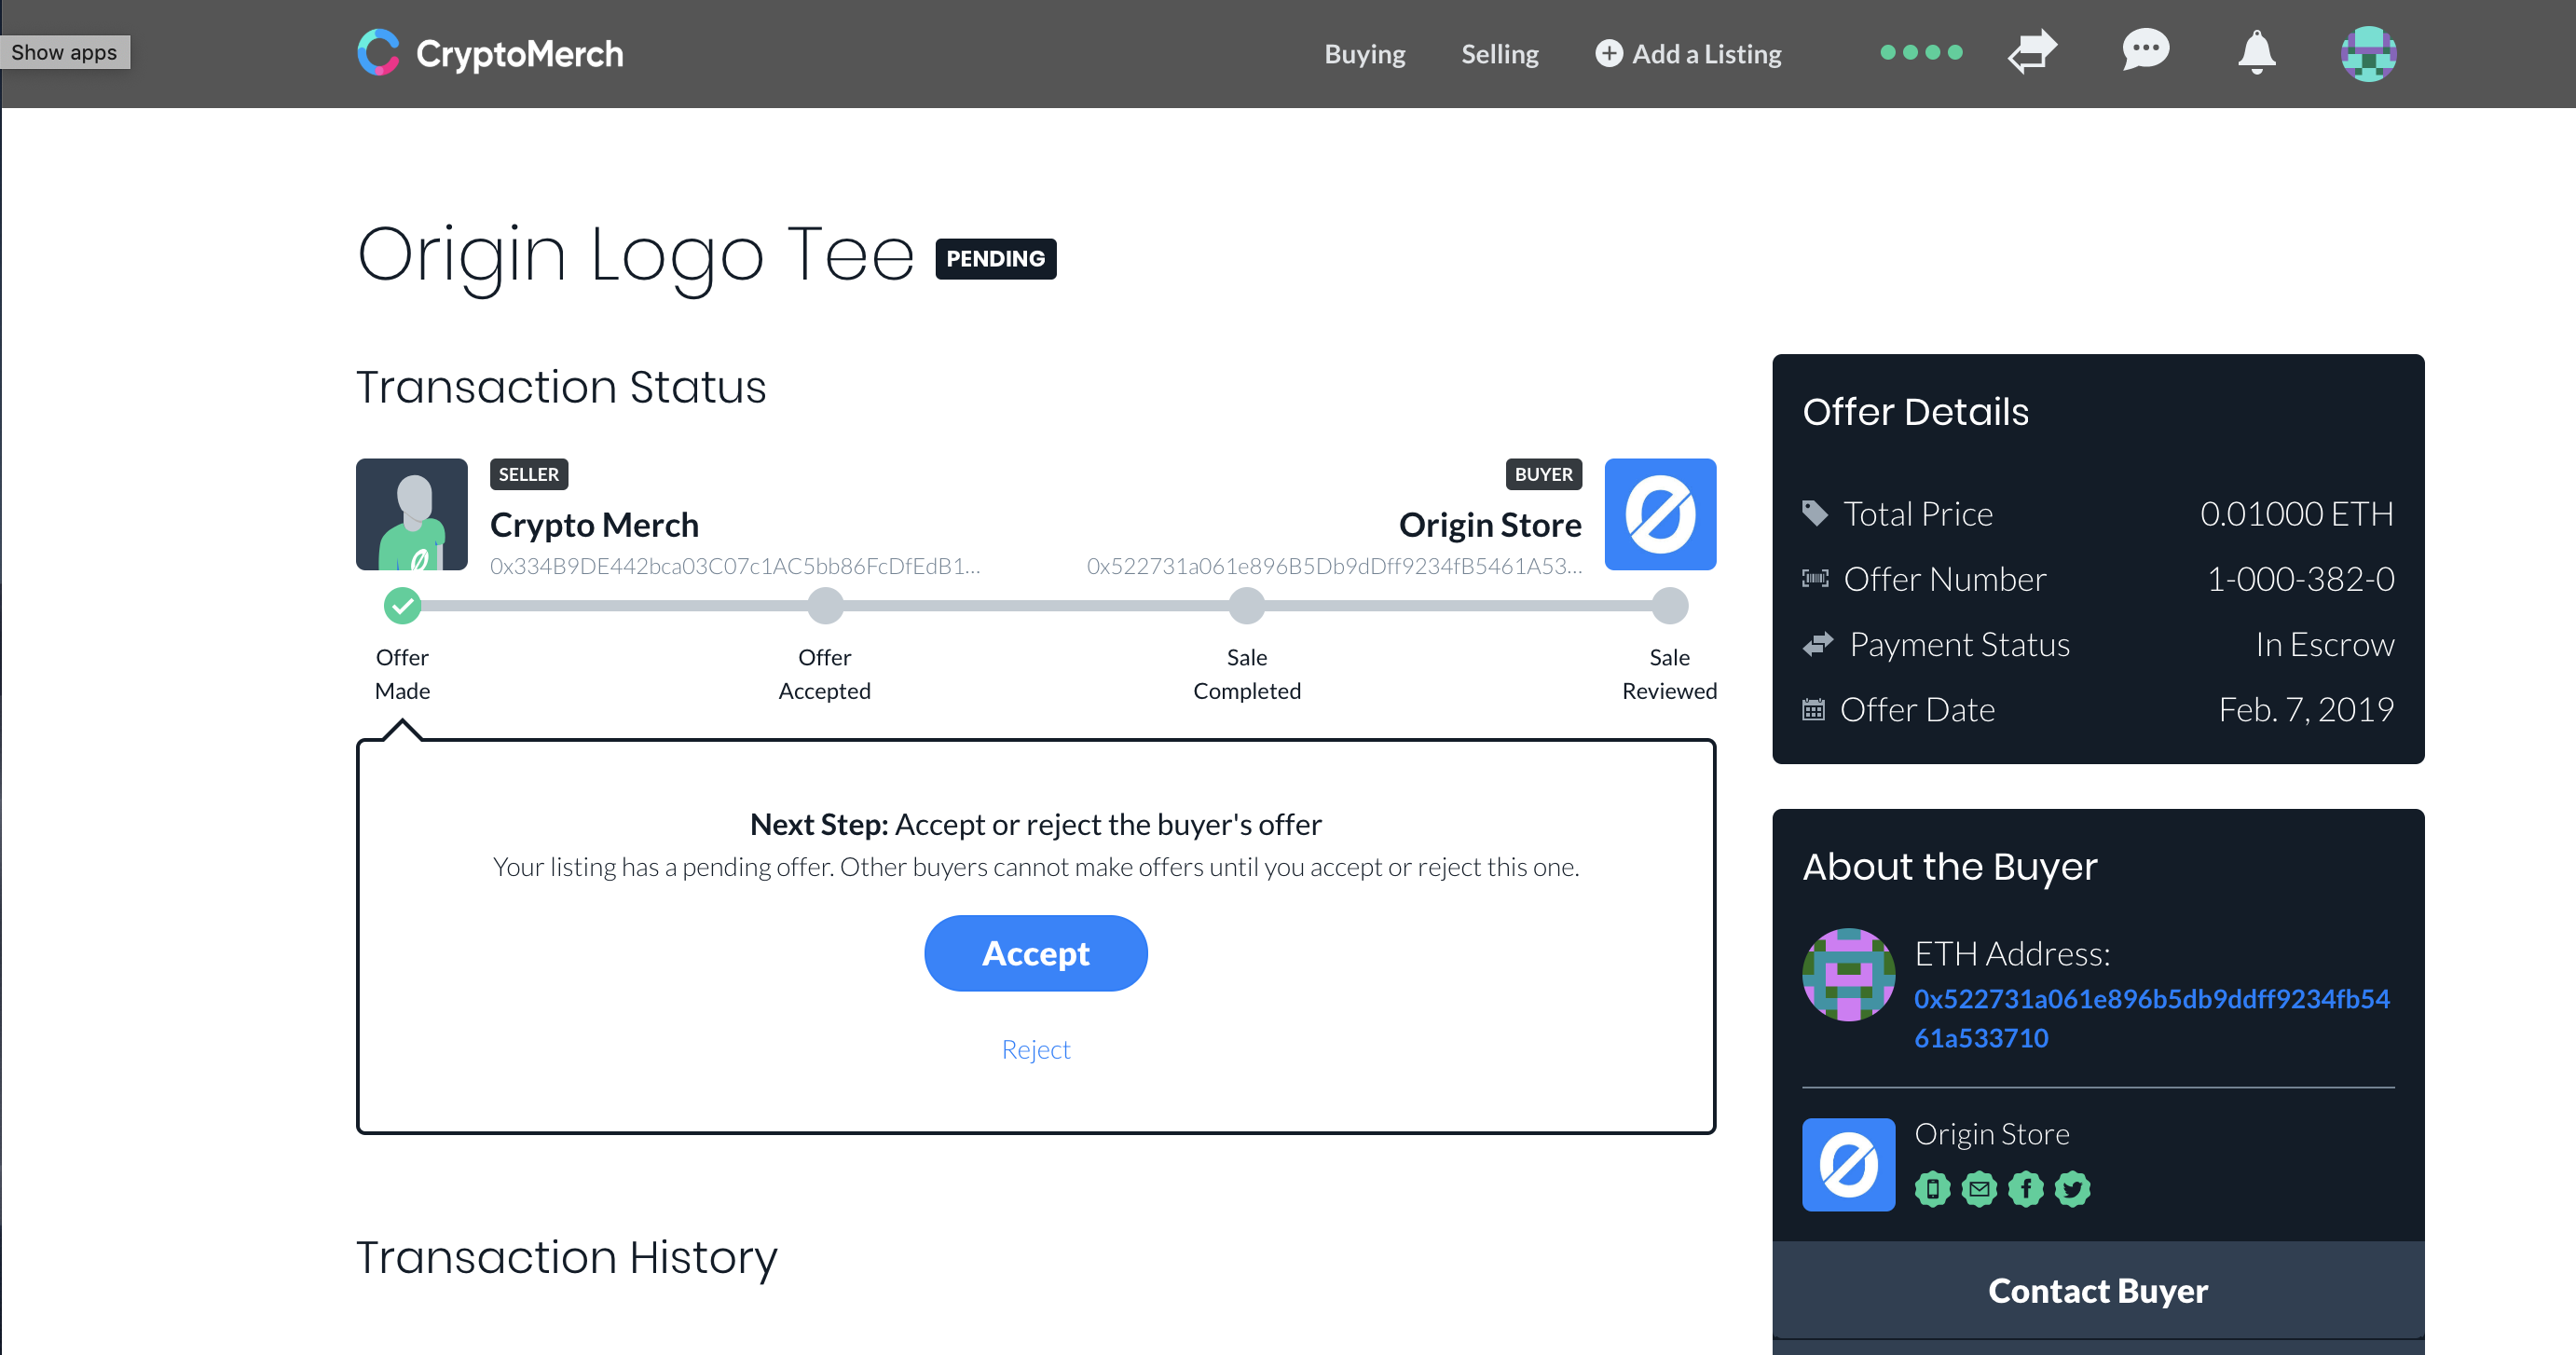
To accept the offer, we will have to do another action in MetaMask, which should cost about a penny or less.
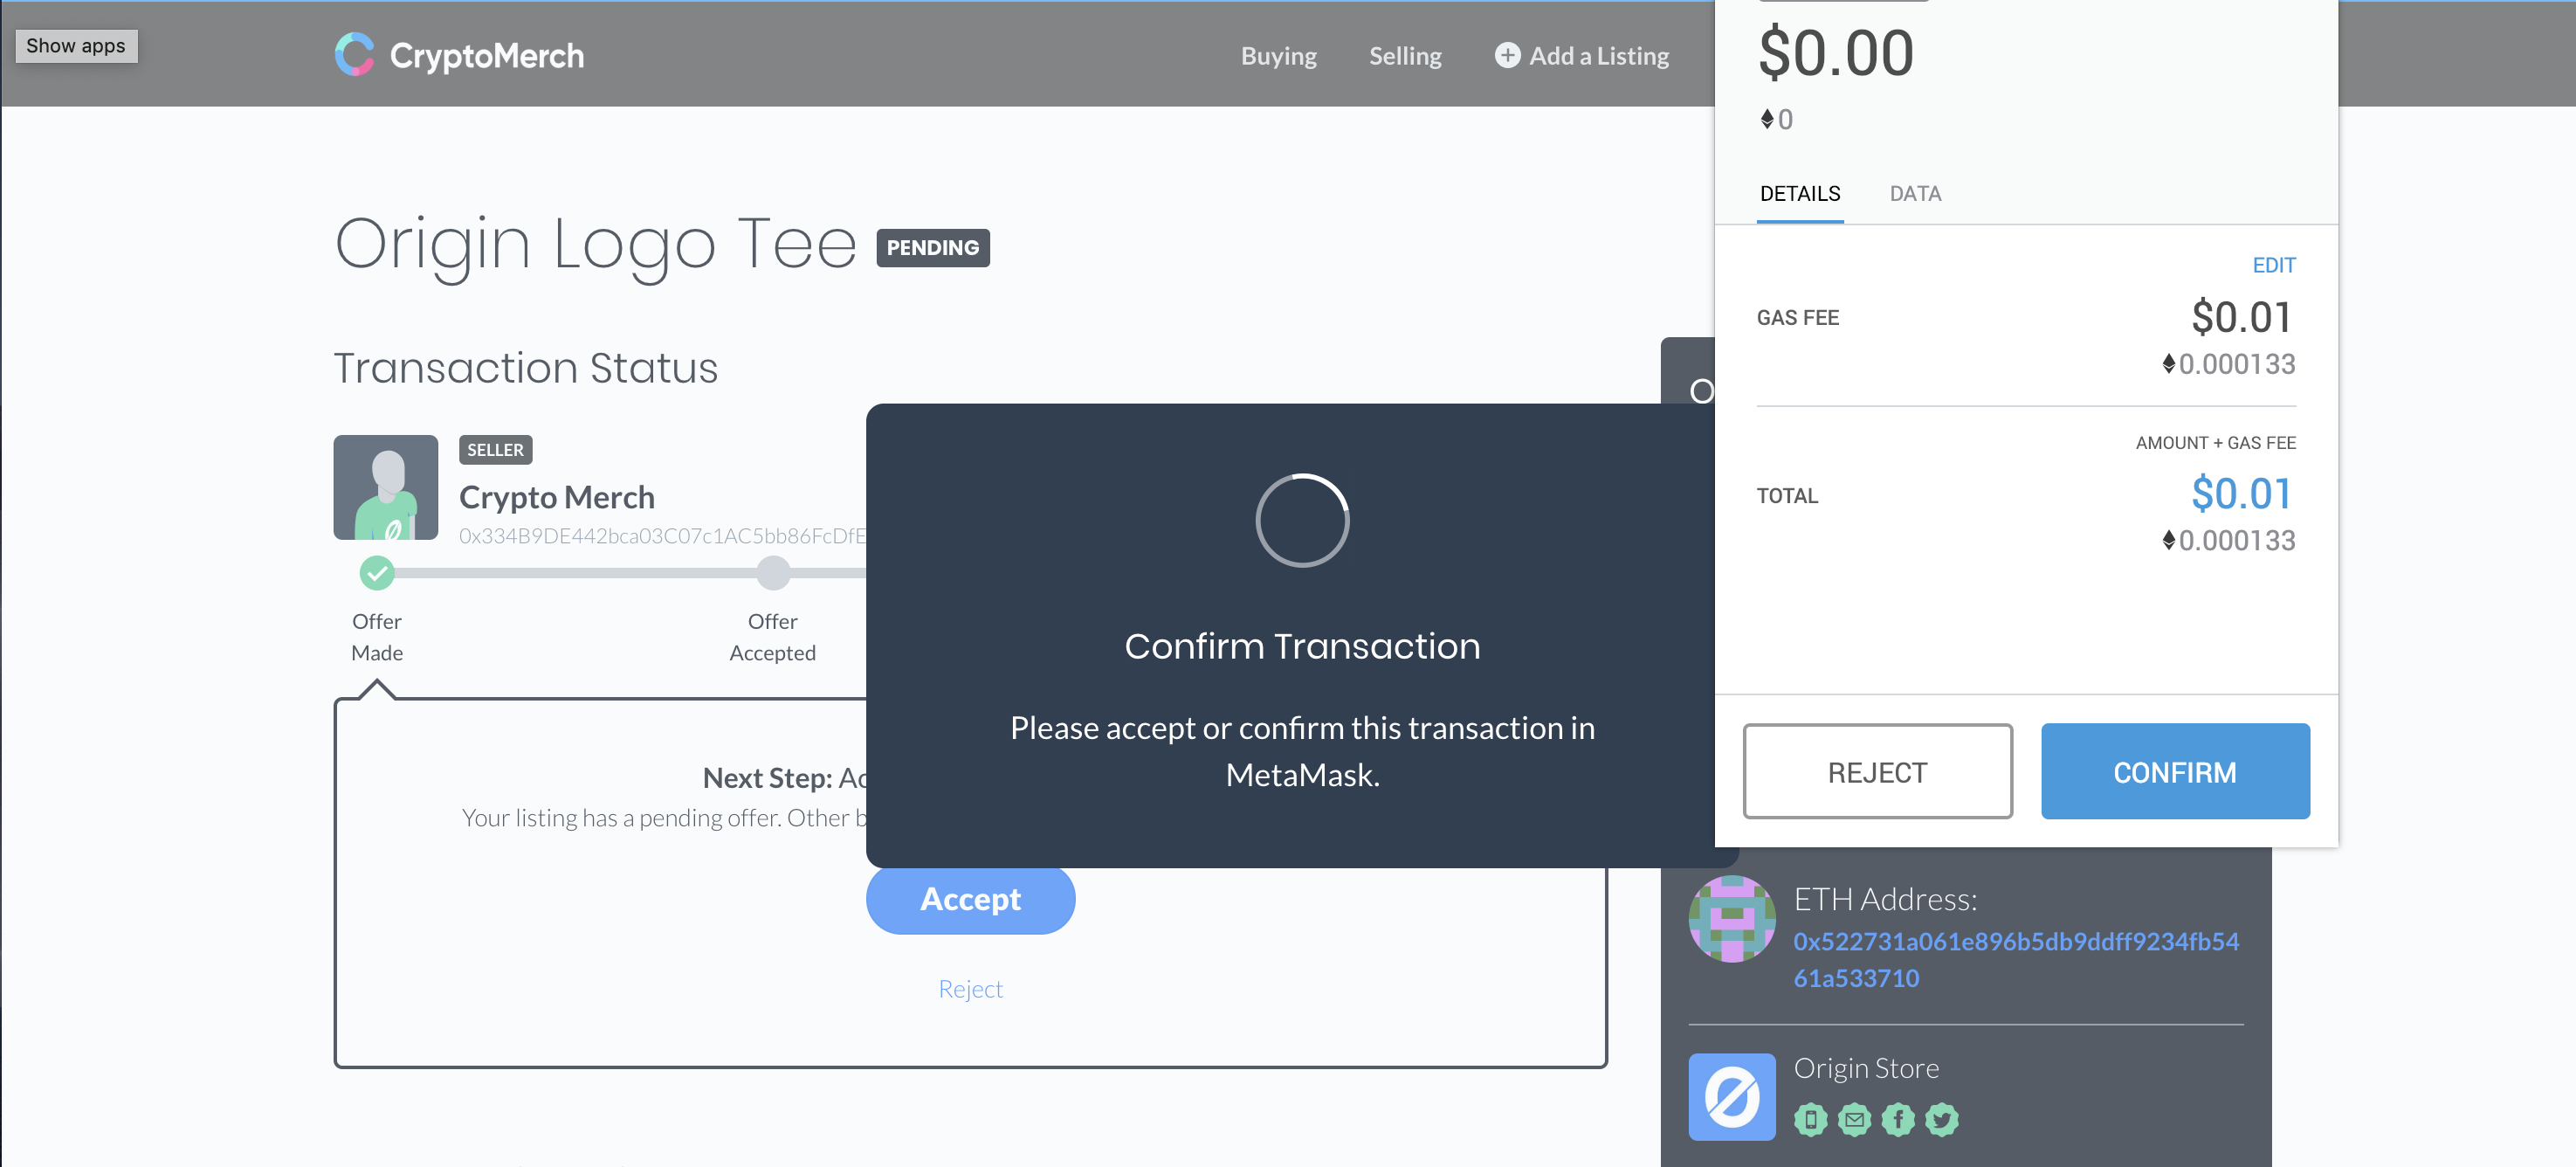
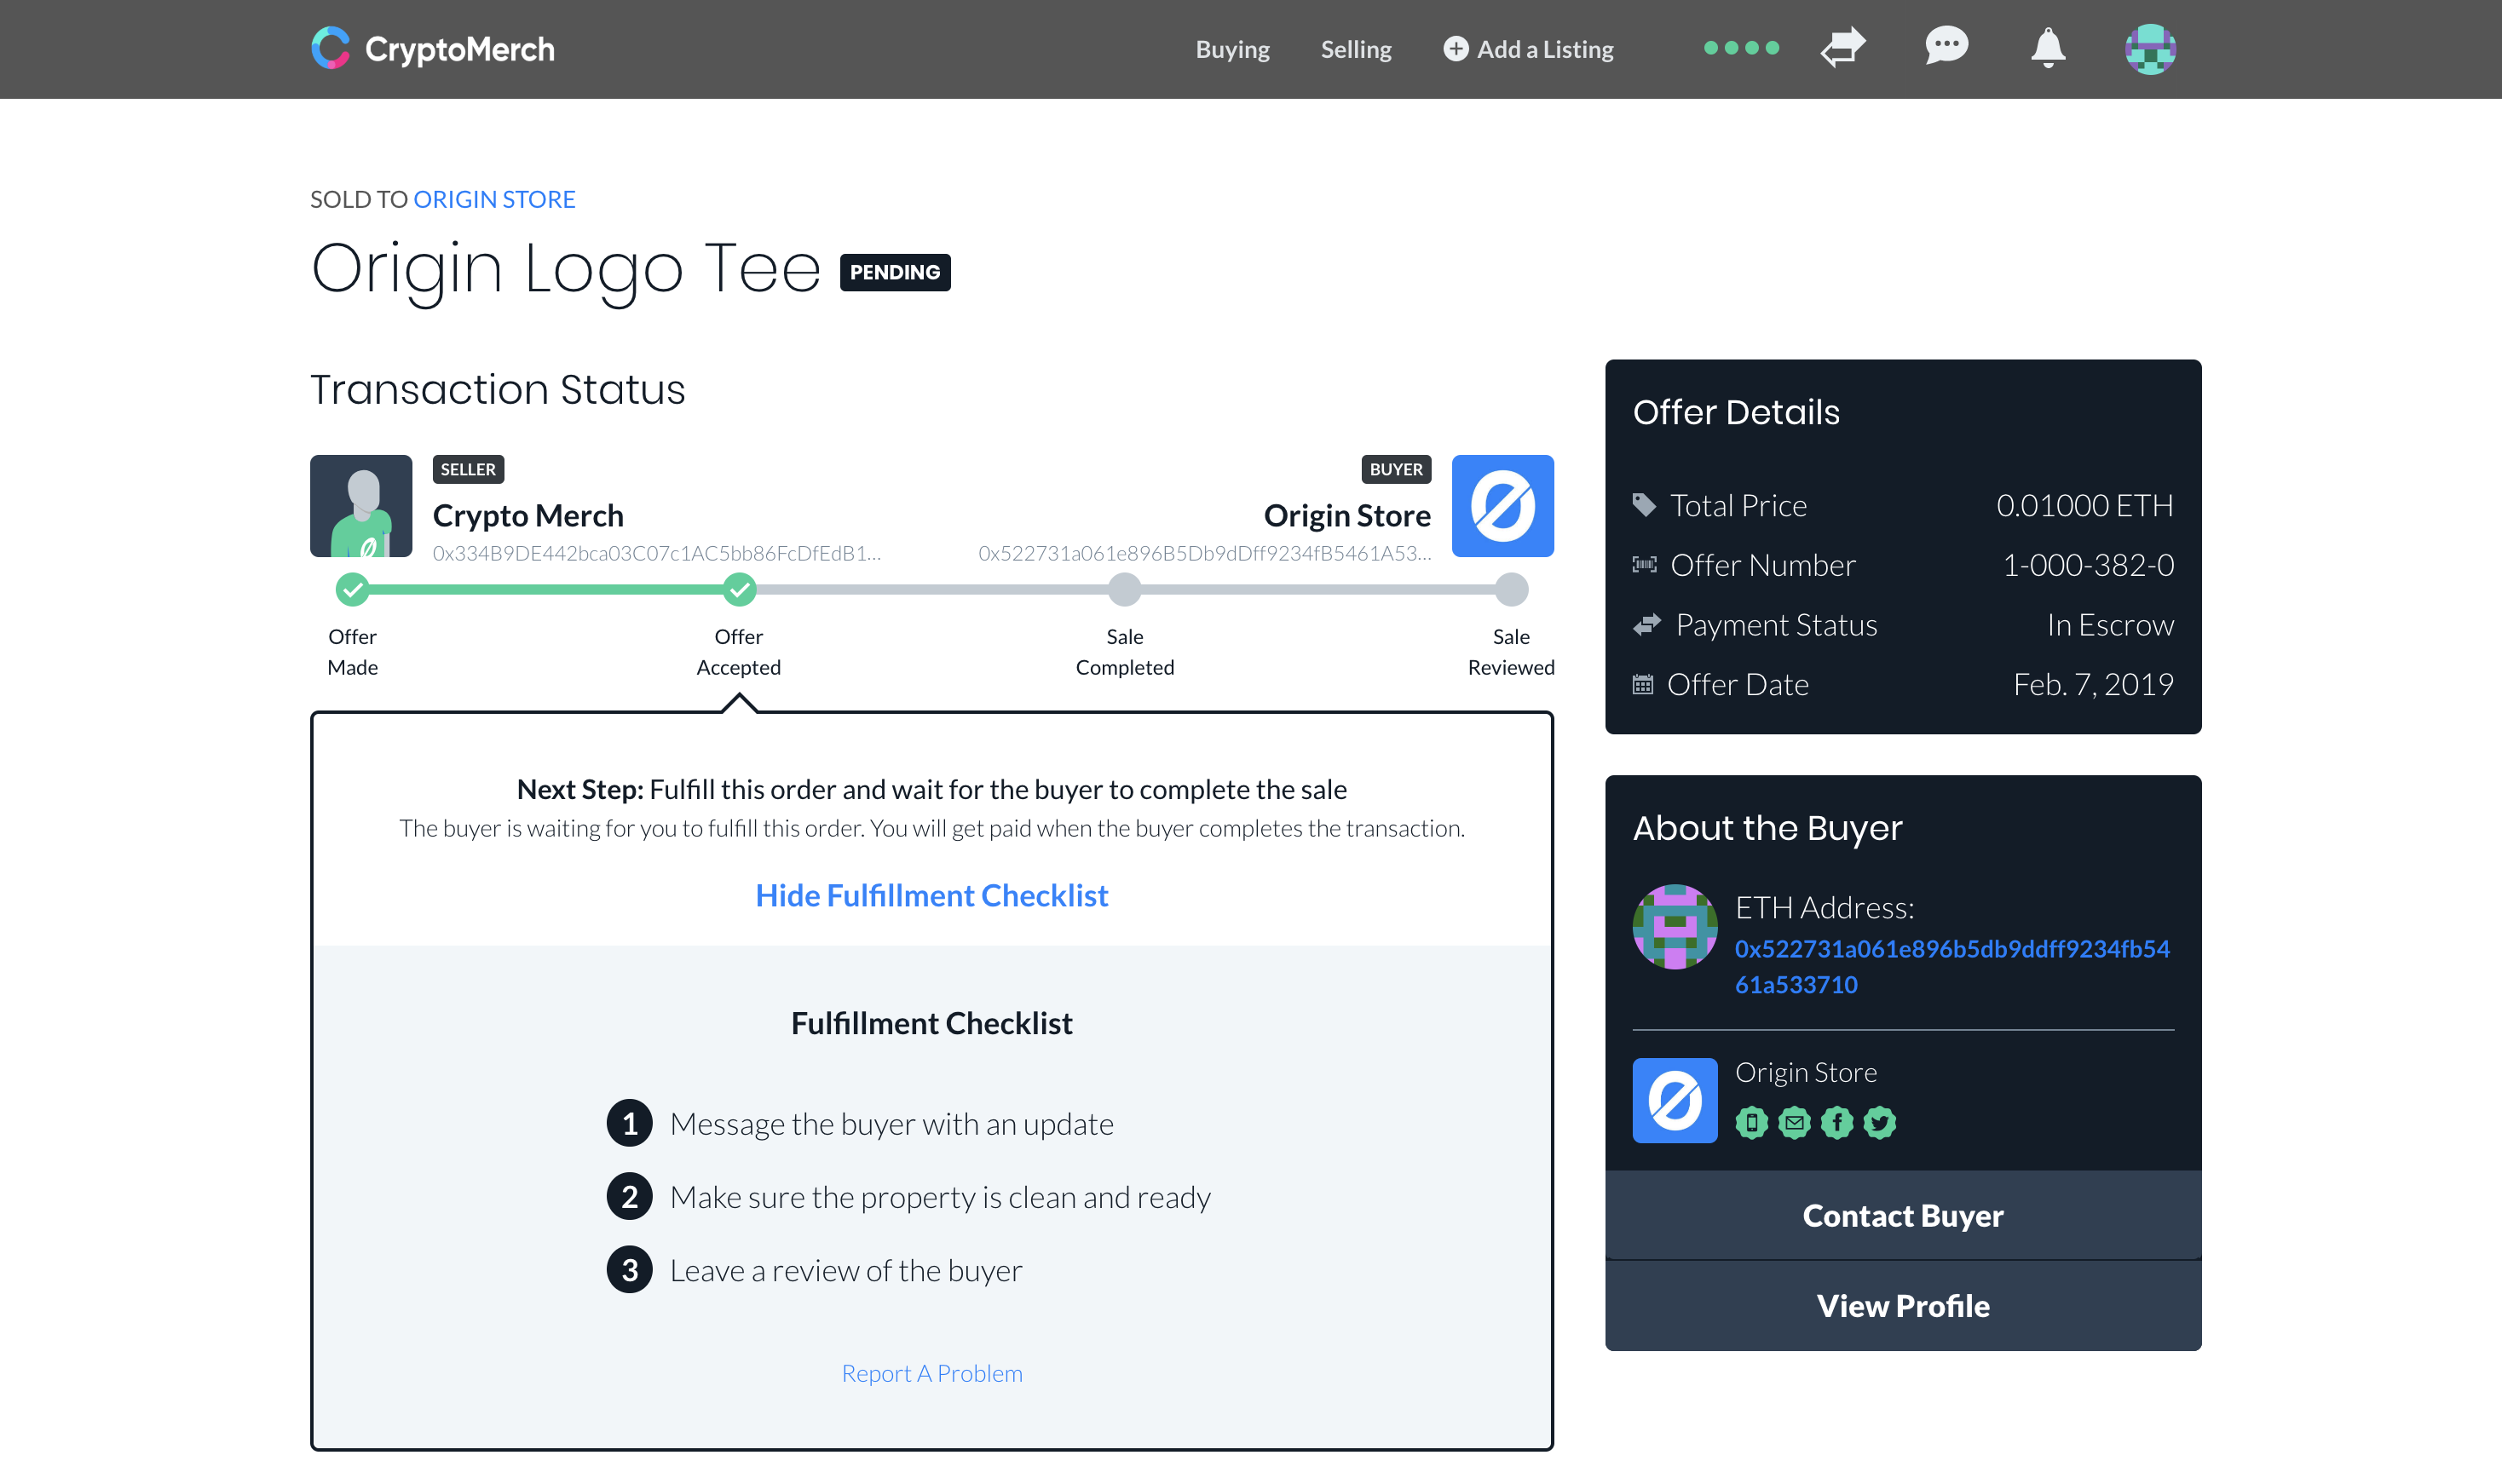
The ETH the buyer paid for this item is locked and held in escrow until you fulfill the order (e.g. ship the product or fulfill a service). You will see a ‘Fulfillment Checklist’ of the steps required to unlock this ETH and send it to your wallet.
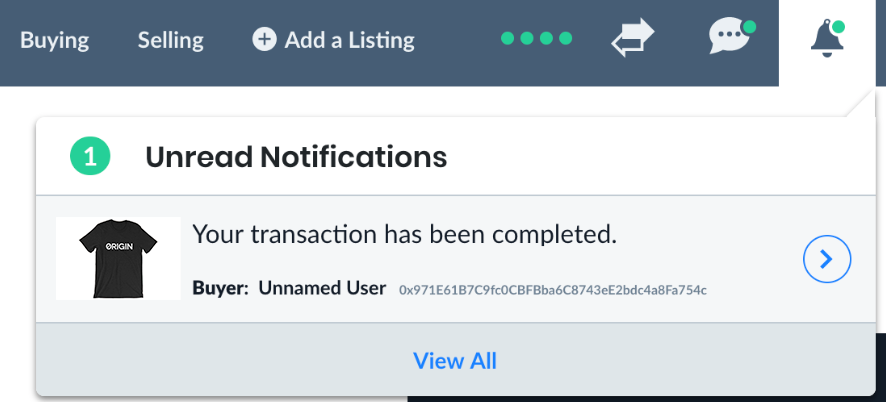
Once the buyer is satisfied with their purchase, they will finalize the order. You will receive a notification that the order is finalized, and the ETH will be delivered to your wallet.
Now that the ETH is released to your wallet, you can leave a review of the buyer.
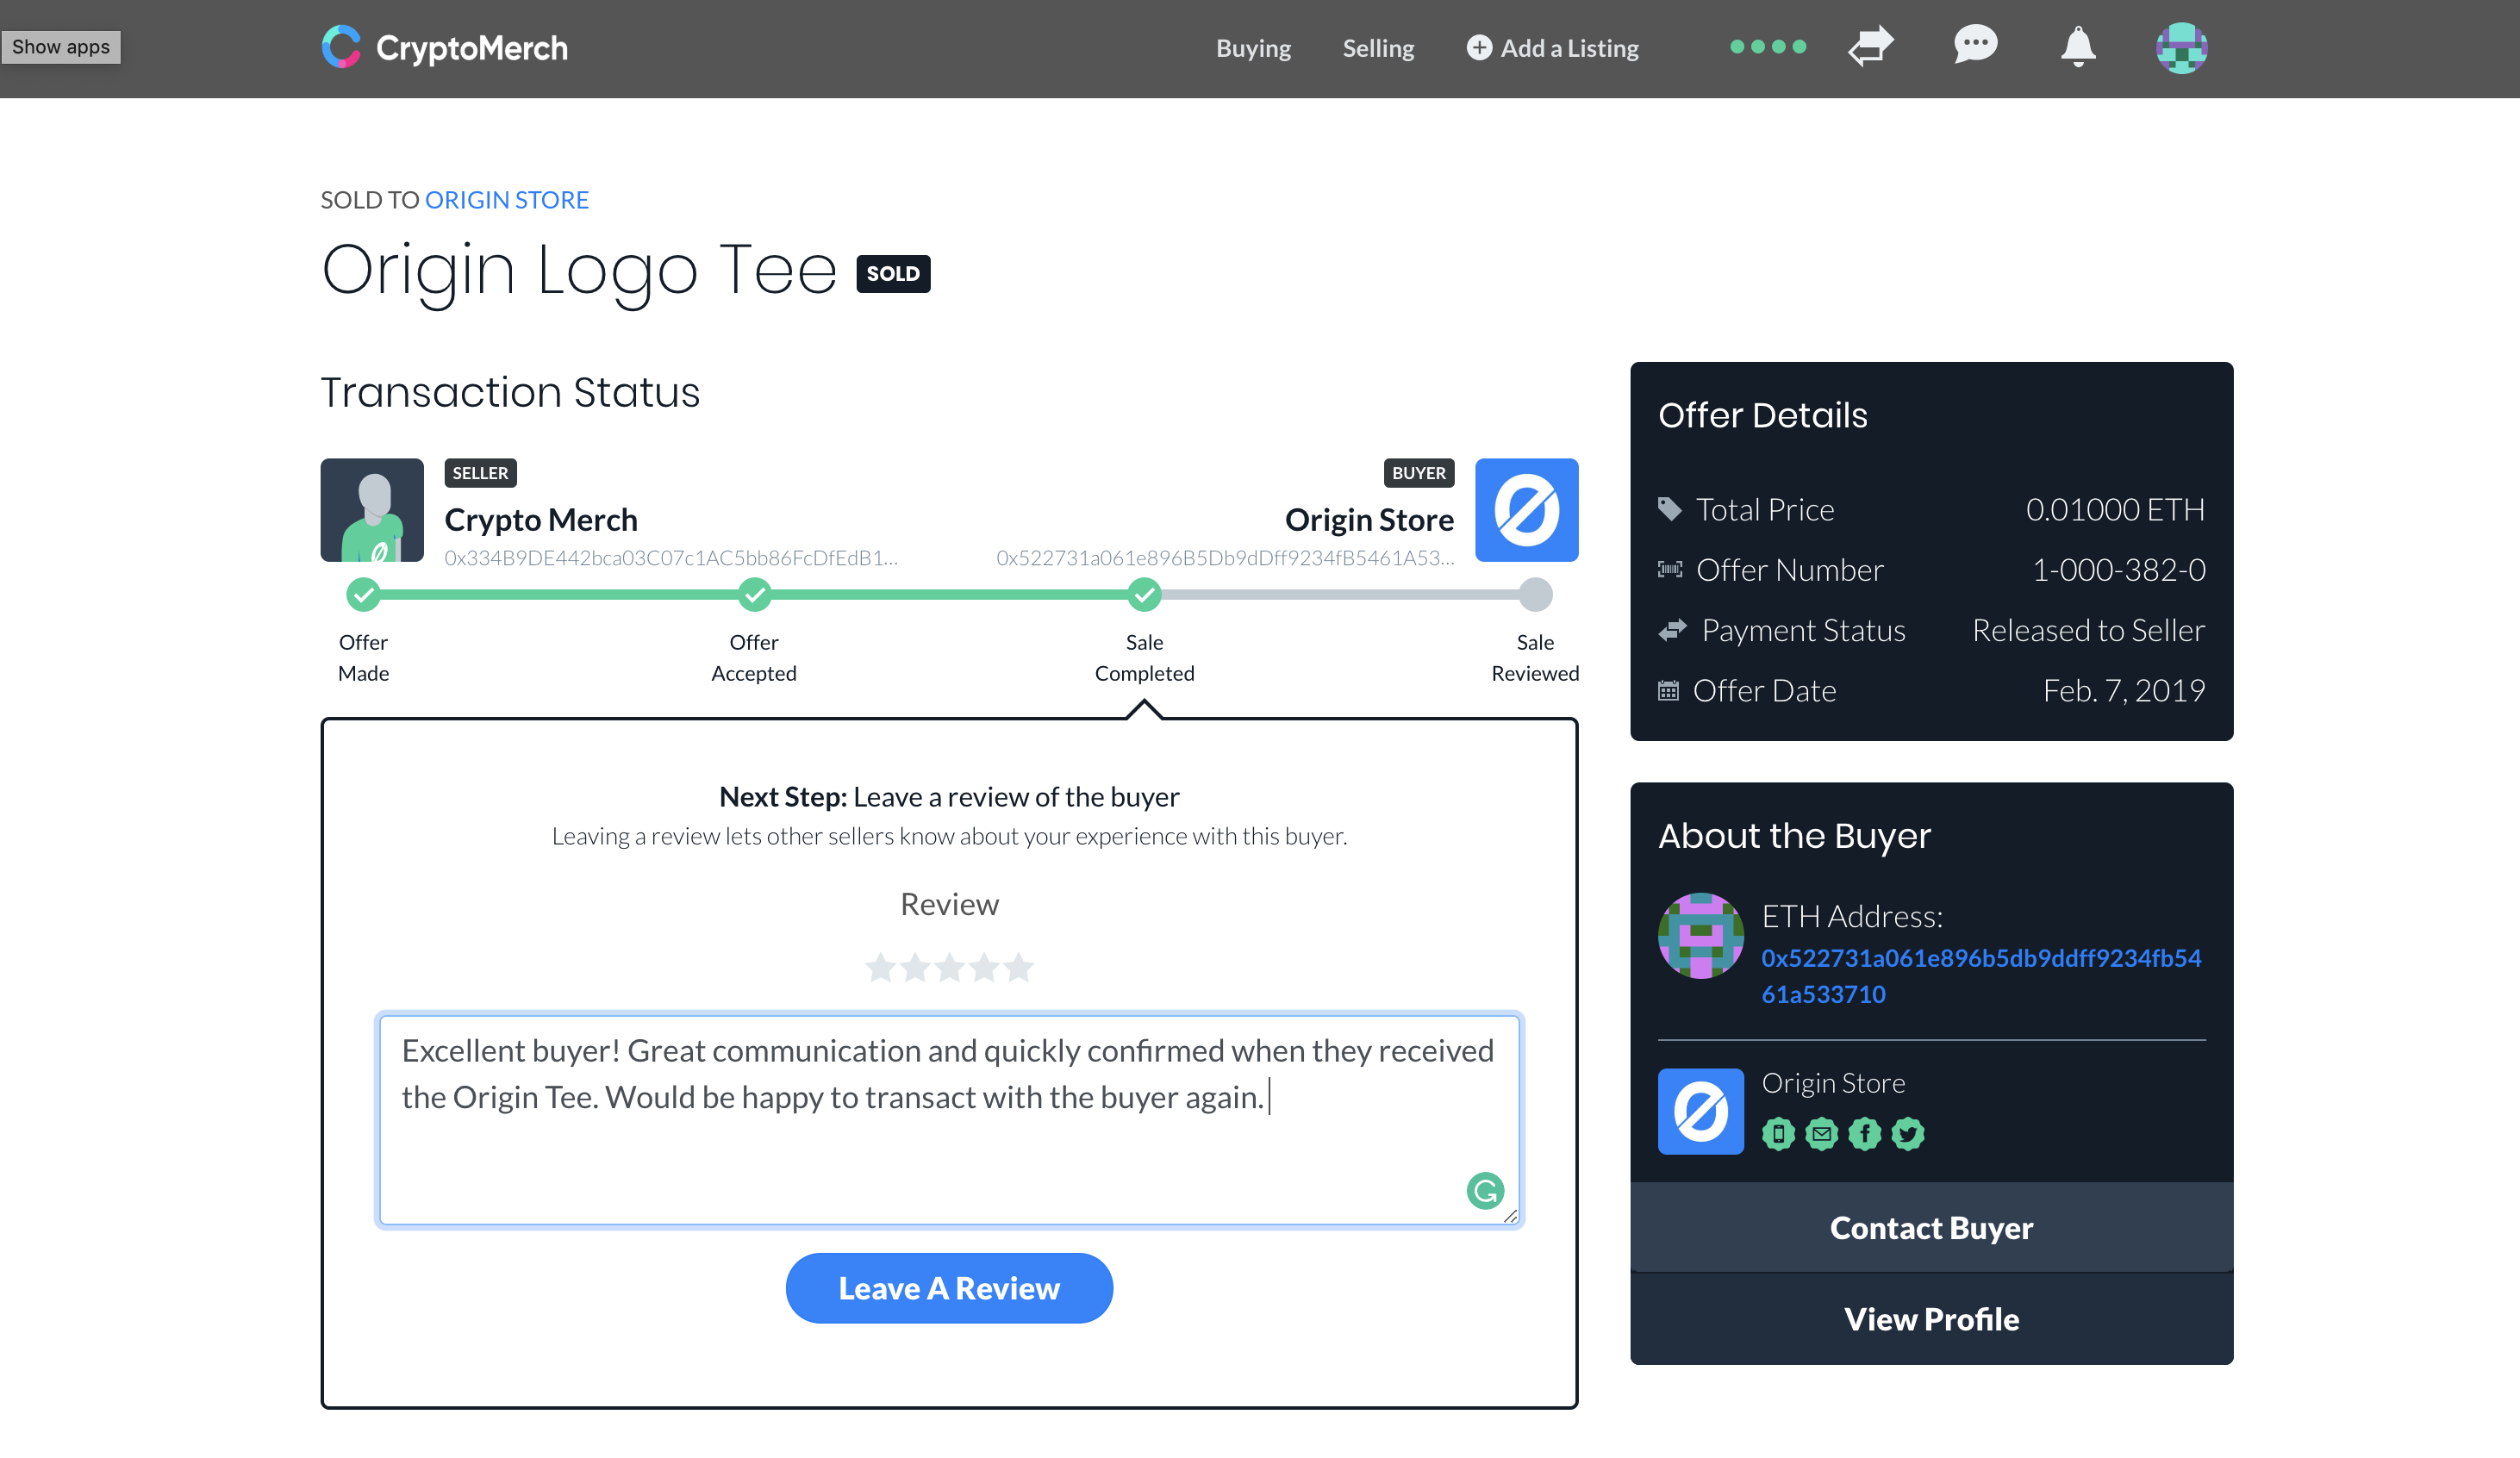
The sales process is now complete! You can either keep your newly earned ETH in your MetaMask wallet, or transfer it to your Coinbase account and trade it for cold hard cash direct to your bank account.
If you run into problems or have a conflict with a buyer, do not hesitate to contact us.